What if exhibitions could be for everyone, not just for those who can make it through the door before closing day?
A digital version gives more people a way in.
Arts and culture institutions want to extend the reach and impact of their exhibition projects. In practice, though, creating an online version can be a heavy lift, whether an organization has a dedicated digital team or not.
What if you could share an outstanding digital exhibition without it becoming another months-long, meeting-intensive, resource-depleting major project?
Our system helps museum teams create and publish outstanding digital exhibitions that can reach audiences everywhere.
How to go from objects to exhibitions:
Step 1: Create a Base for your objects and exhibitions.
Step 2: Customize an Exhibition Blueprint for your project.
Step 3: Add objects (with object data, media, and interpretive content).
Step 4: Create a digital exhibitions using your objects.
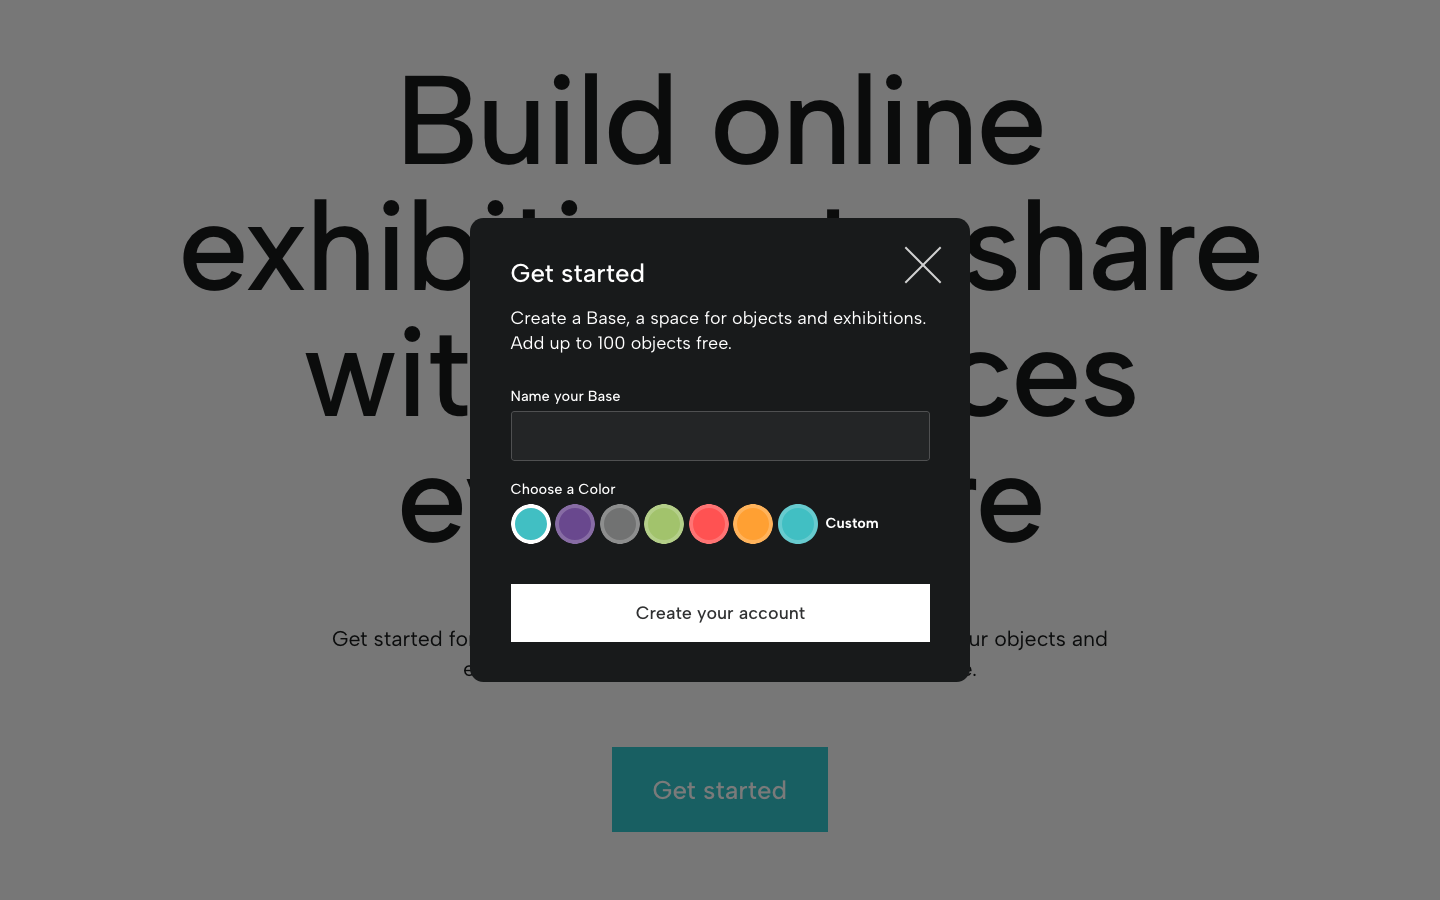
Step 1: Create a Base
A Base is your space for organizing object data and media and creating digital exhibitions.
You can start a Base for an entire collection, a museum department, a collection of ceramics, or for a single exhibition project.
Every Base begins at Level 01, which is free for up to 100 object records (no credit card required). When you’re ready to add more objects, invite Base Members, and publish exhibitions, you can start a Base subscription.
On the homepage, click Get started. Name your Base, choose a color and get started. For more information, check out Base Basics.
Step 2: Customize an Exhibition Blueprint
Blueprints are customizable, purpose-built forms for object data. For an exhibition project, you’ll set up an Exhibition Blueprint.
You can start with a template and then update it for your exhibition.
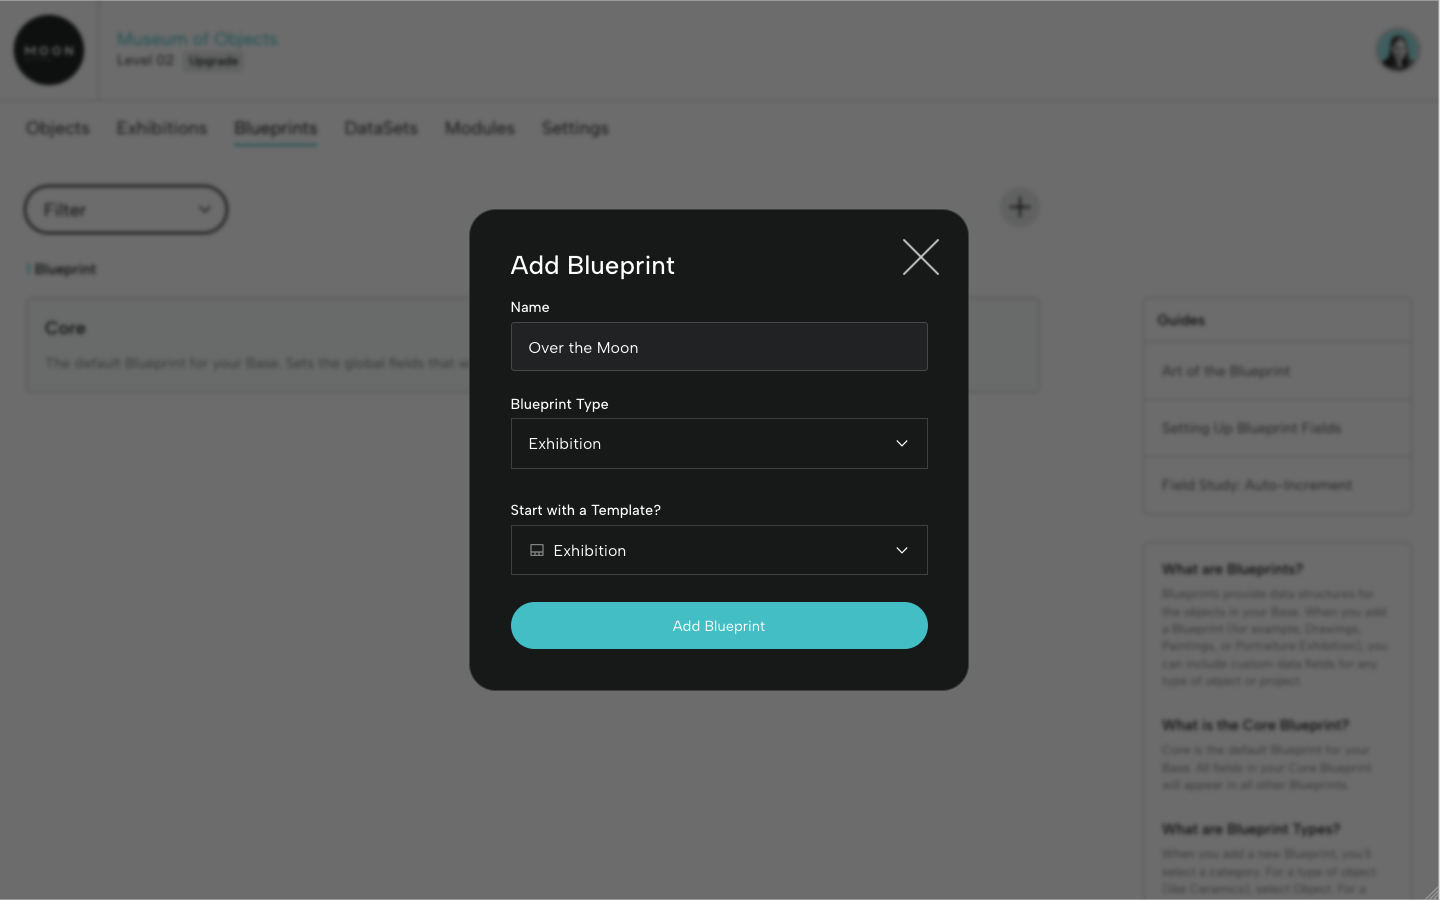
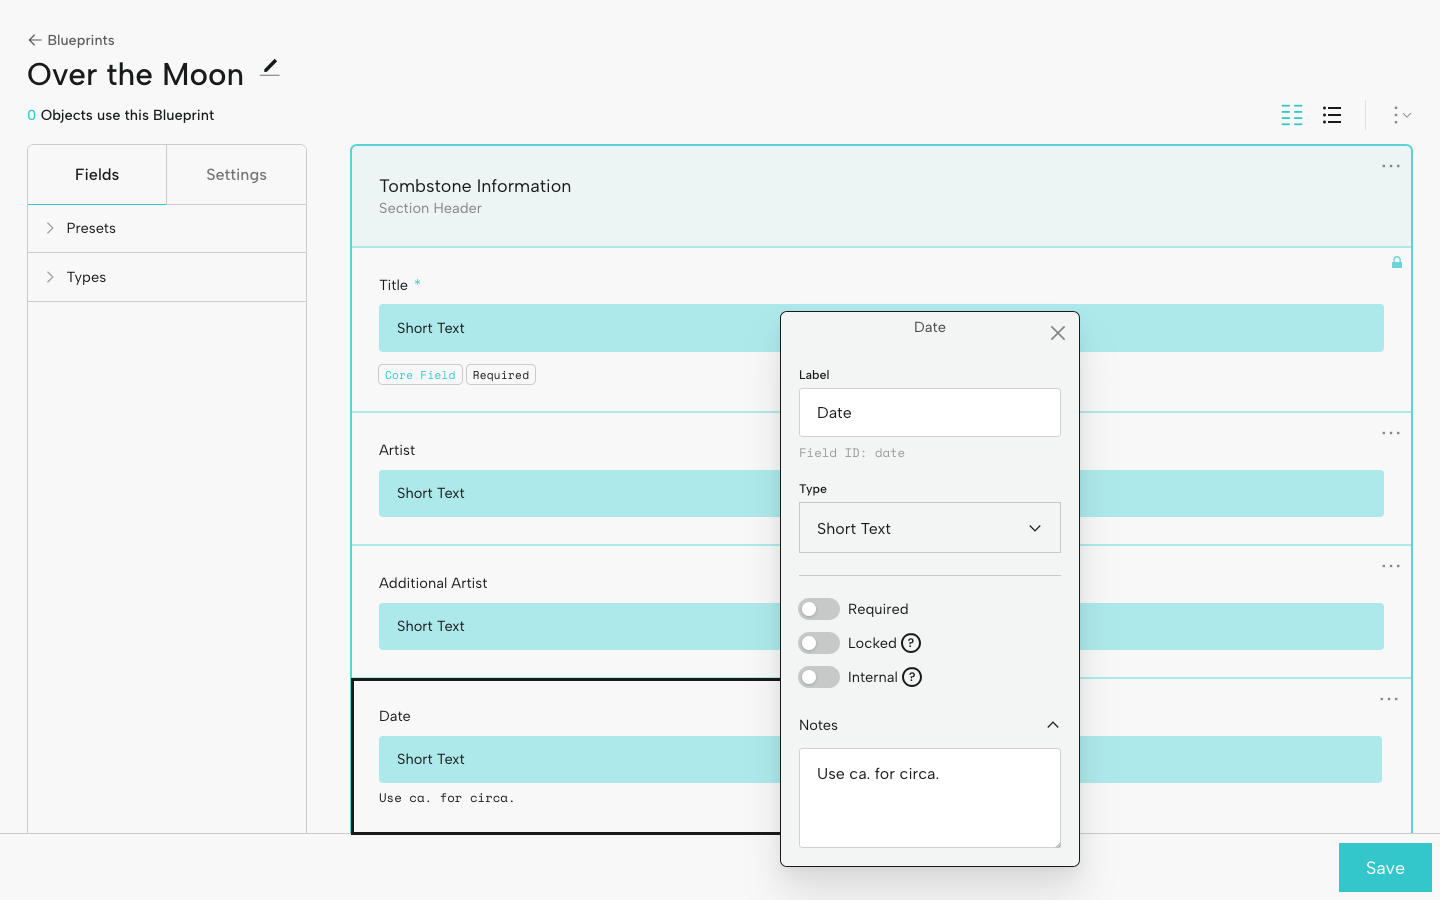
For a digital exhibition, you’ll likely have fields for tombstone information (like date and medium) and fields for interpretive content and media. You can drag and drop fields and rows, change field labels, and add data entry notes.
For more information, check out Art of the Blueprint and Setting Up Blueprint Fields.
Step 3: Add Objects
From the Objects page, you can add individual exhibition objects by clicking the + icon.
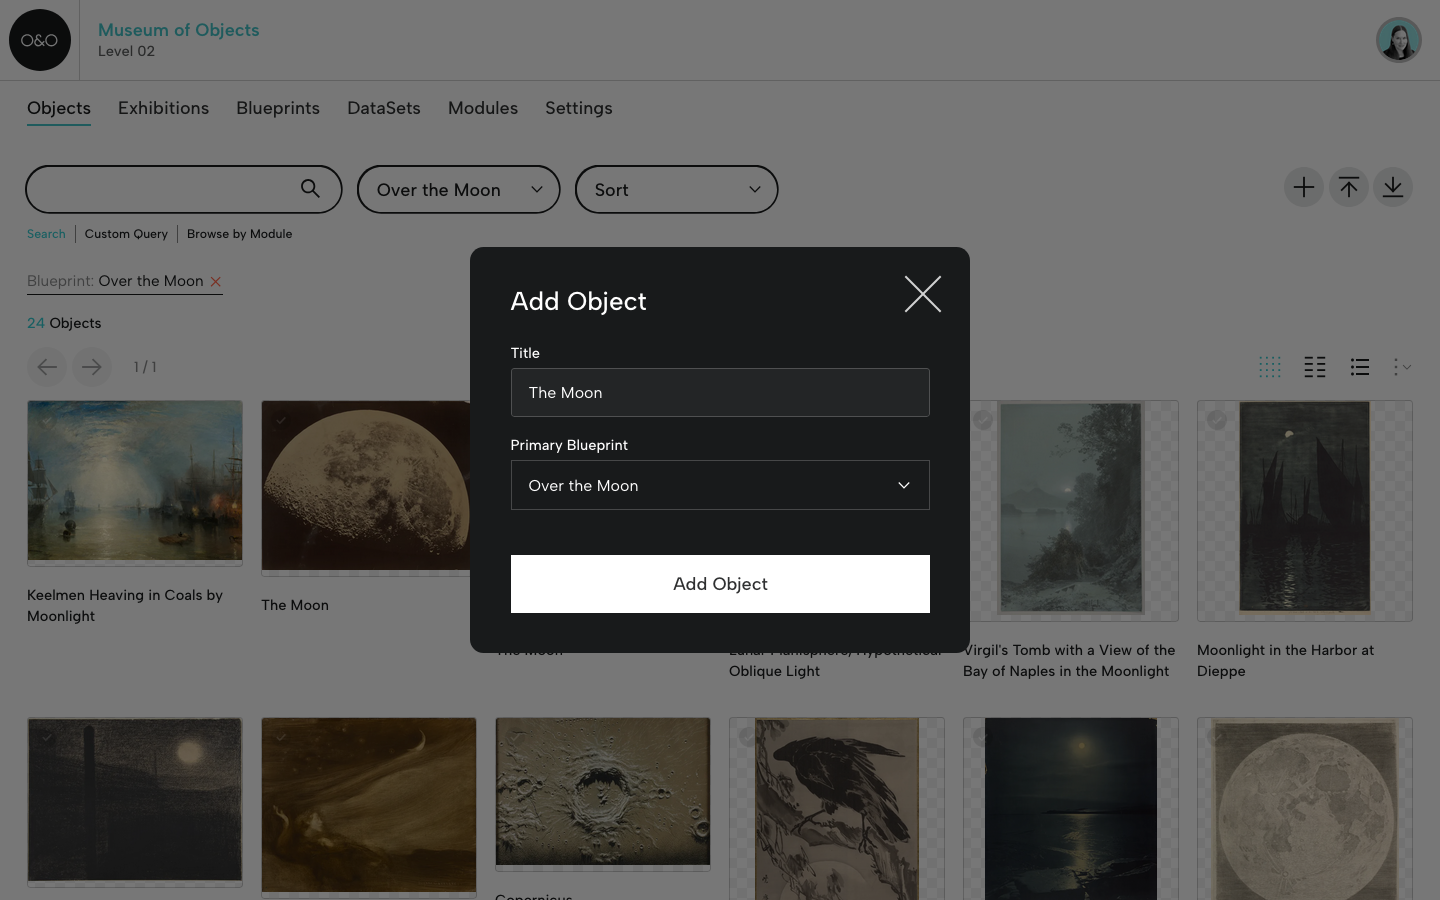
You can also add a group of exhibition objects via CSV (using the CSV template for your Exhibition Blueprint). For more on CSVs, see CSV Guidelines
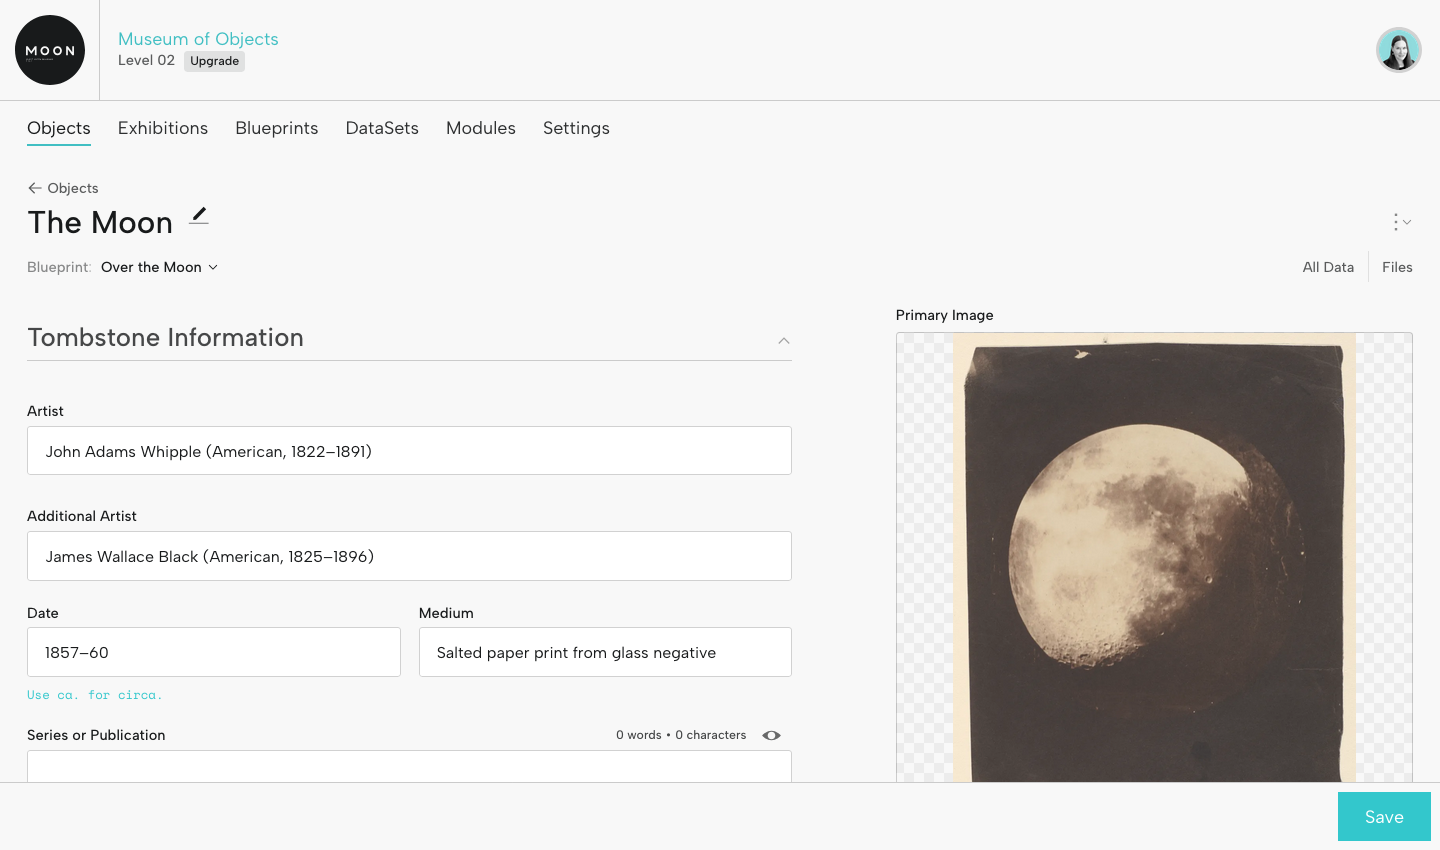
Add Object Information
Enter or update object information in the fields generated by the Exhibition Blueprint. This info will be available for selection in the digital exhibition.
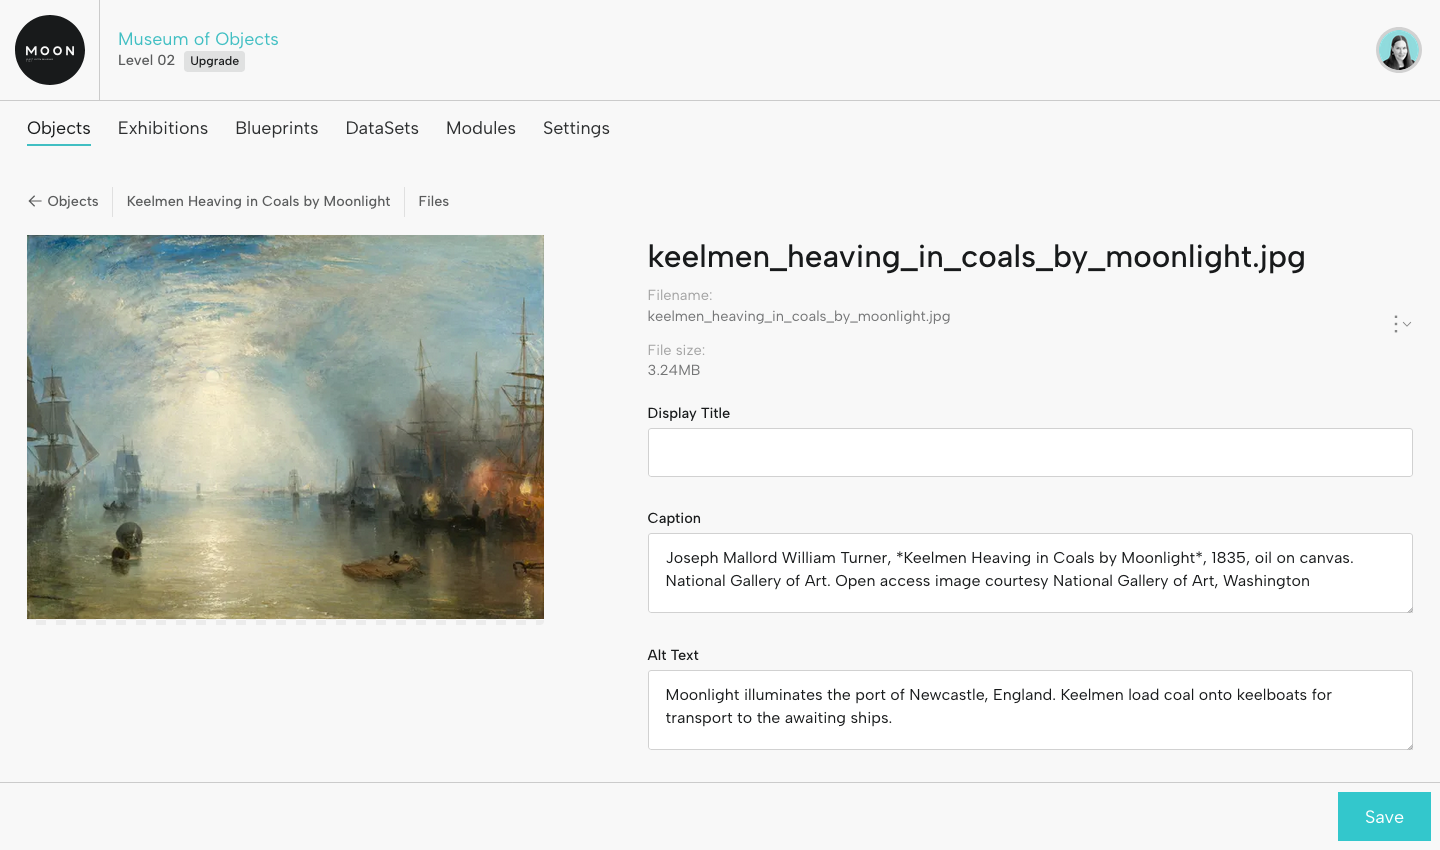
Add Object Assets
For each object, add image, audio, video, and other files.
For each file, you can add caption, alt text, and rights information. Captions and alt text will be available in the exhibition.
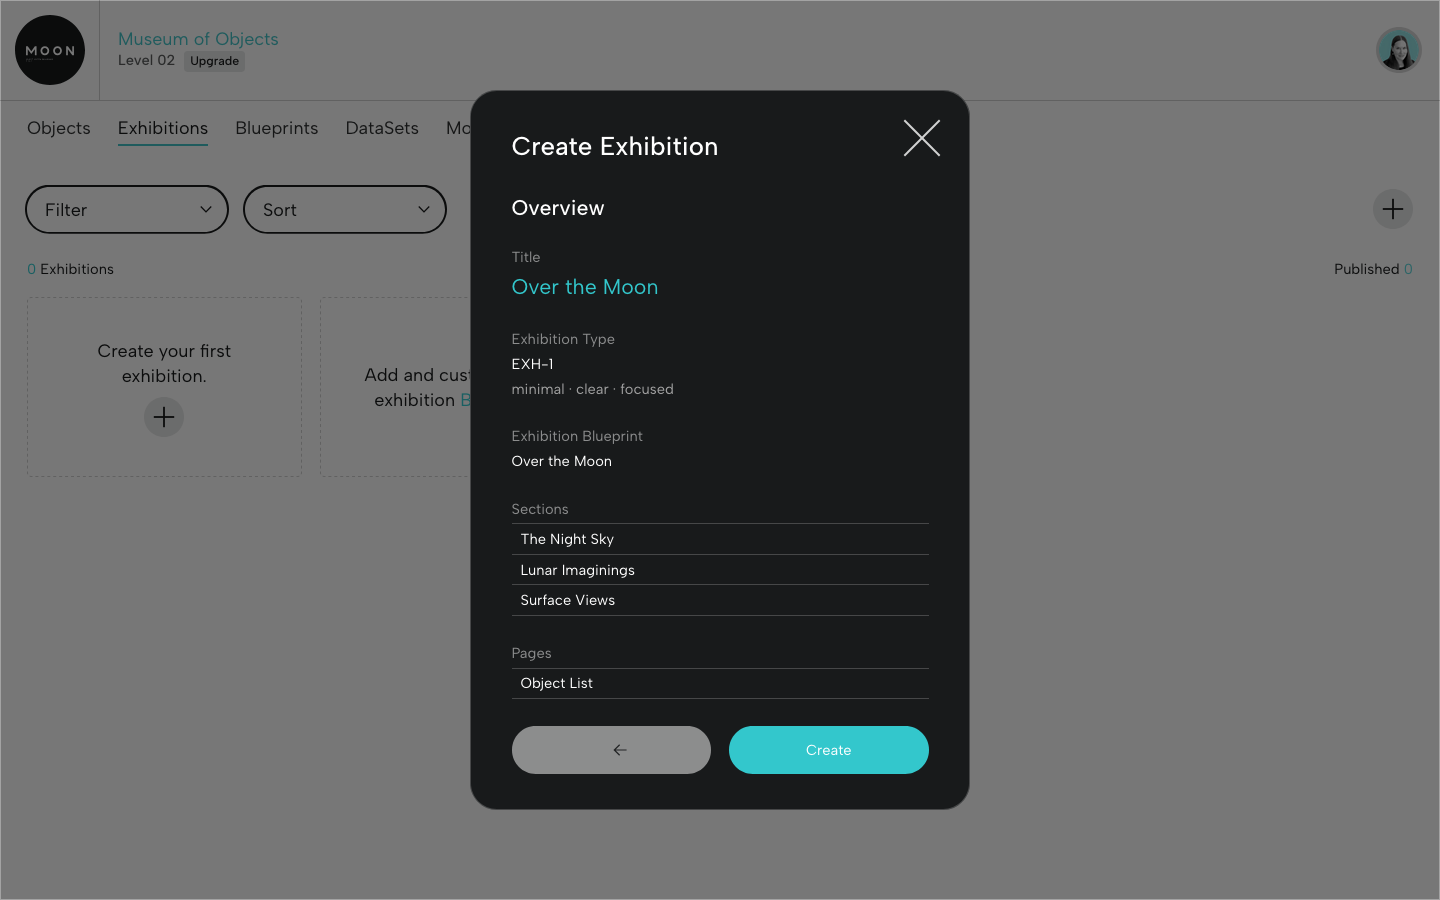
Step 4: Create a Digital Exhibition
When you’ve added object information and files, create your exhibition.
You’ll enter the title and select your Exhibition Blueprint. Then you'll add sections and other pages like Credits or Object List. You can always update these later.
When you create the exhibition, all the objects associated with the Exhibition Blueprint will be automatically available in the exhibition. Let's take a quick look at three areas where you'll customize the display of object images and data.
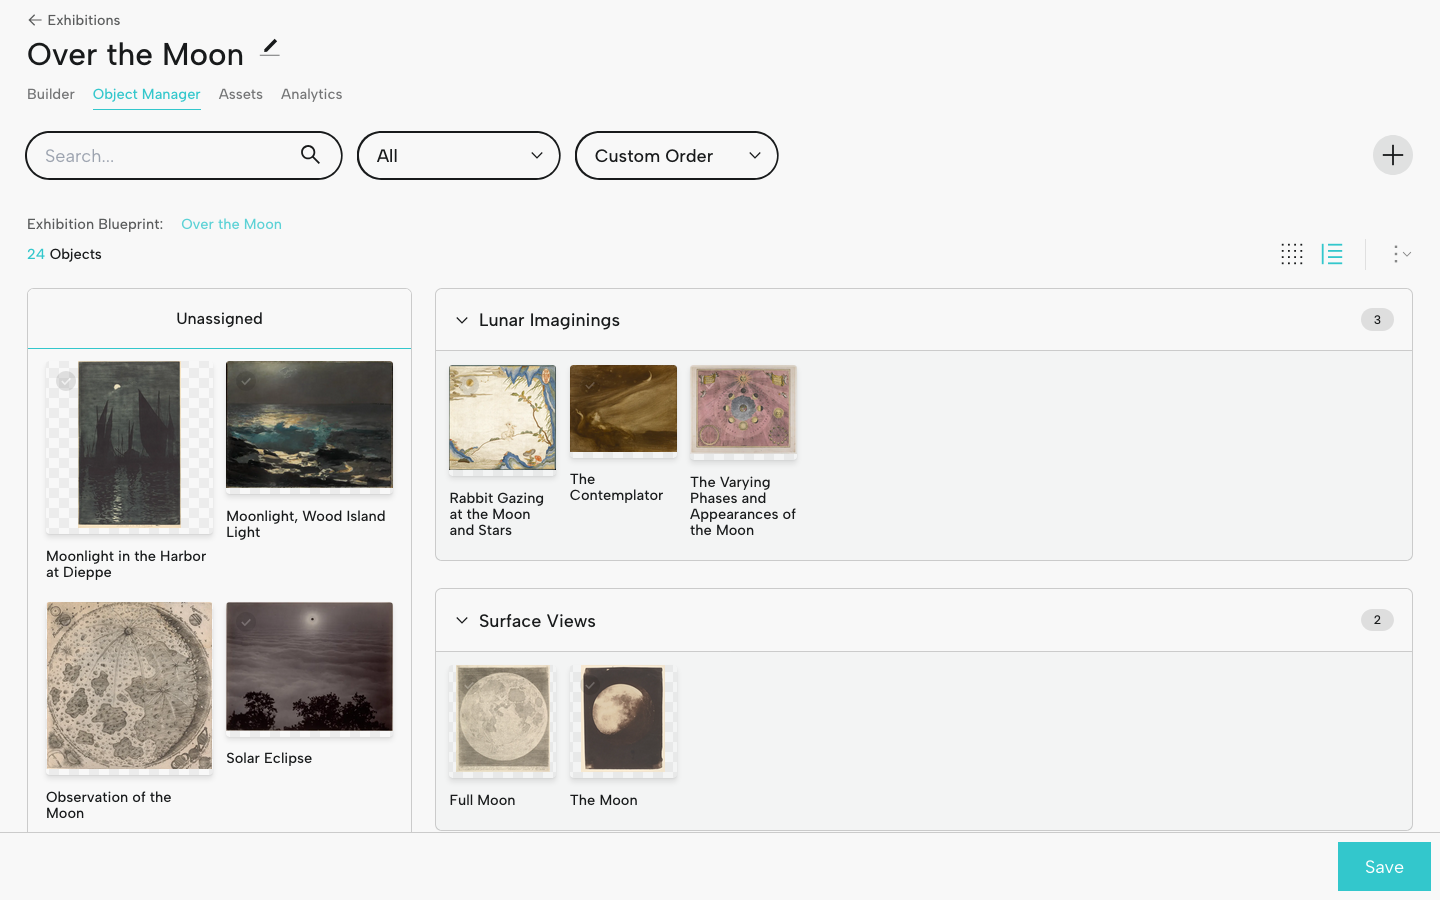
Object Manager
In the Object Manager, you'll sort exhibition objects into their respective sections by dragging and dropping. The order you select here will inform object order on the Section pages.
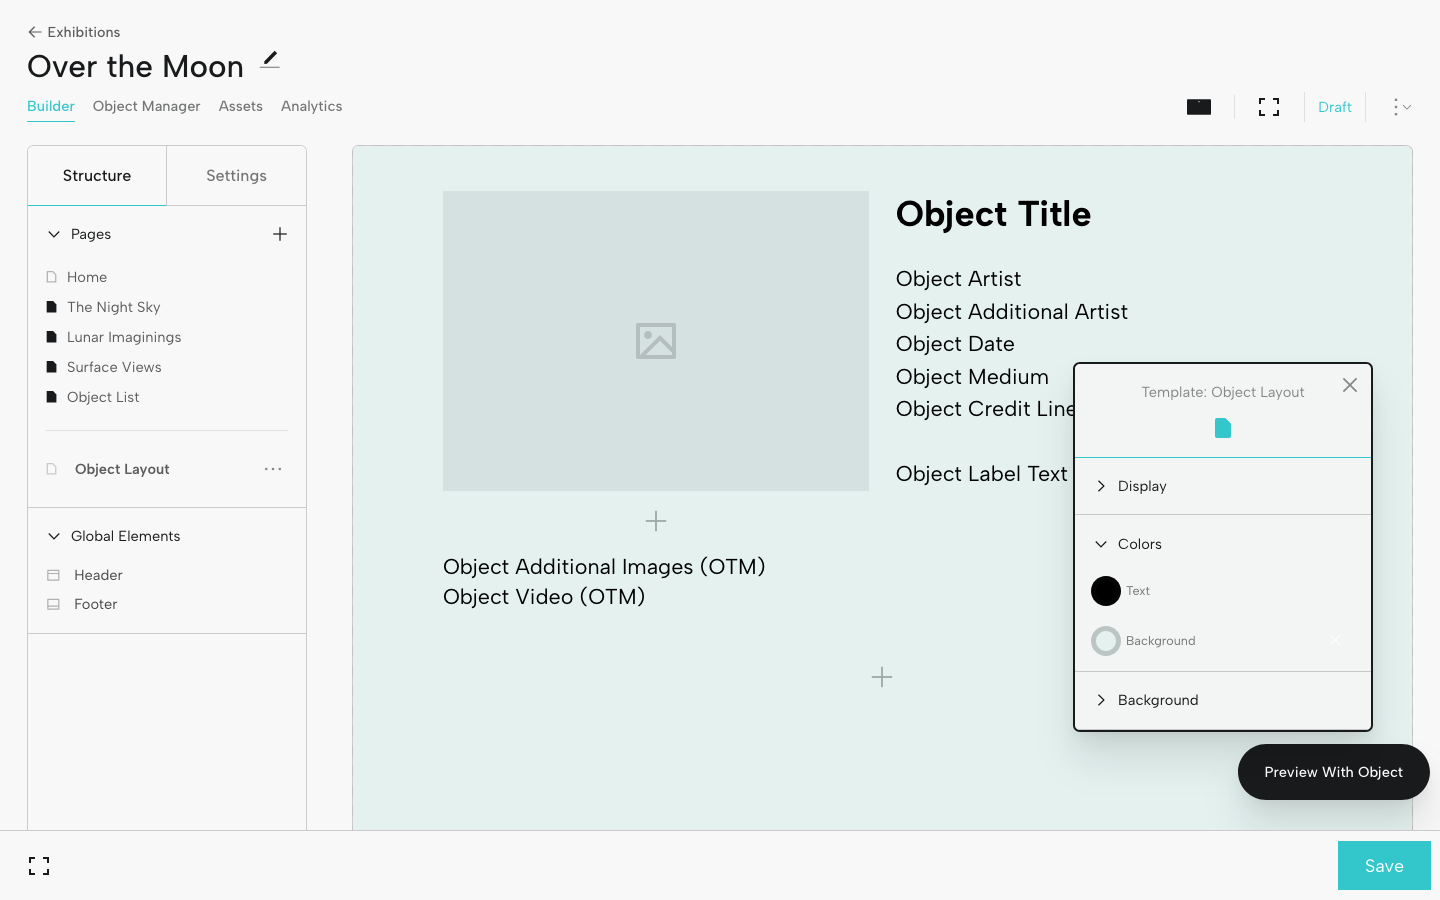
Object Layout
Think of the Object Layout as a customizable template for viewing an individual object. You select and arrange the Blueprint fields you want to display. You can also adjust the look and feel and preview with a specific object.
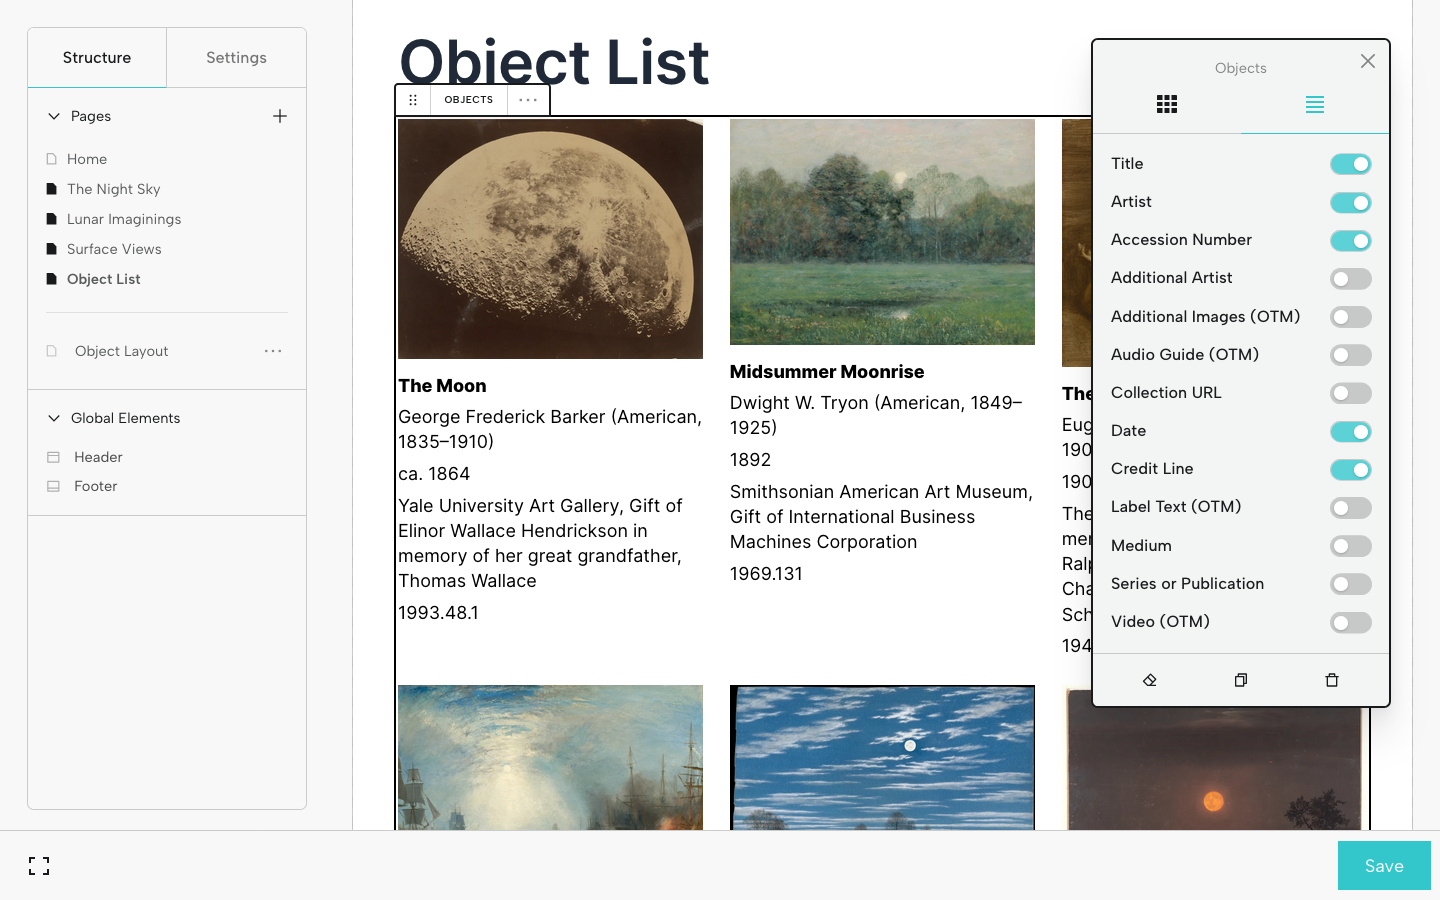
Object List
If you added an Object List when you created your exhibition, all objects will be automatically displayed on this page. You can also decide what information you want to display and in what order.
With Objects and Order, it's possible to go from objects to exhibitions in minutes and extend the reach and impact of your projects.
For an in-depth look at the creation process, check out the Creating an Exhibition guide.
See sample digital exhibitions created with Objects and Order on the Exhibitions page at the Museum of Objects.
Let us know if you have questions, need some help getting started, or if you’d like a quick demo.