With the Slideshow Module, you can highlight up to 100 objects in your collection. This Module type is ideal for:
- Highlighting a thematic selection of works
- Presenting a group of key exhibition objects
- Showcasing your latest acquisitions or creations
- Creating an in-gallery interactive allowing visitors to view additional images and videos
Let’s create a sample Slideshow Module.
Adding a New Slideshow Module
Step 1:
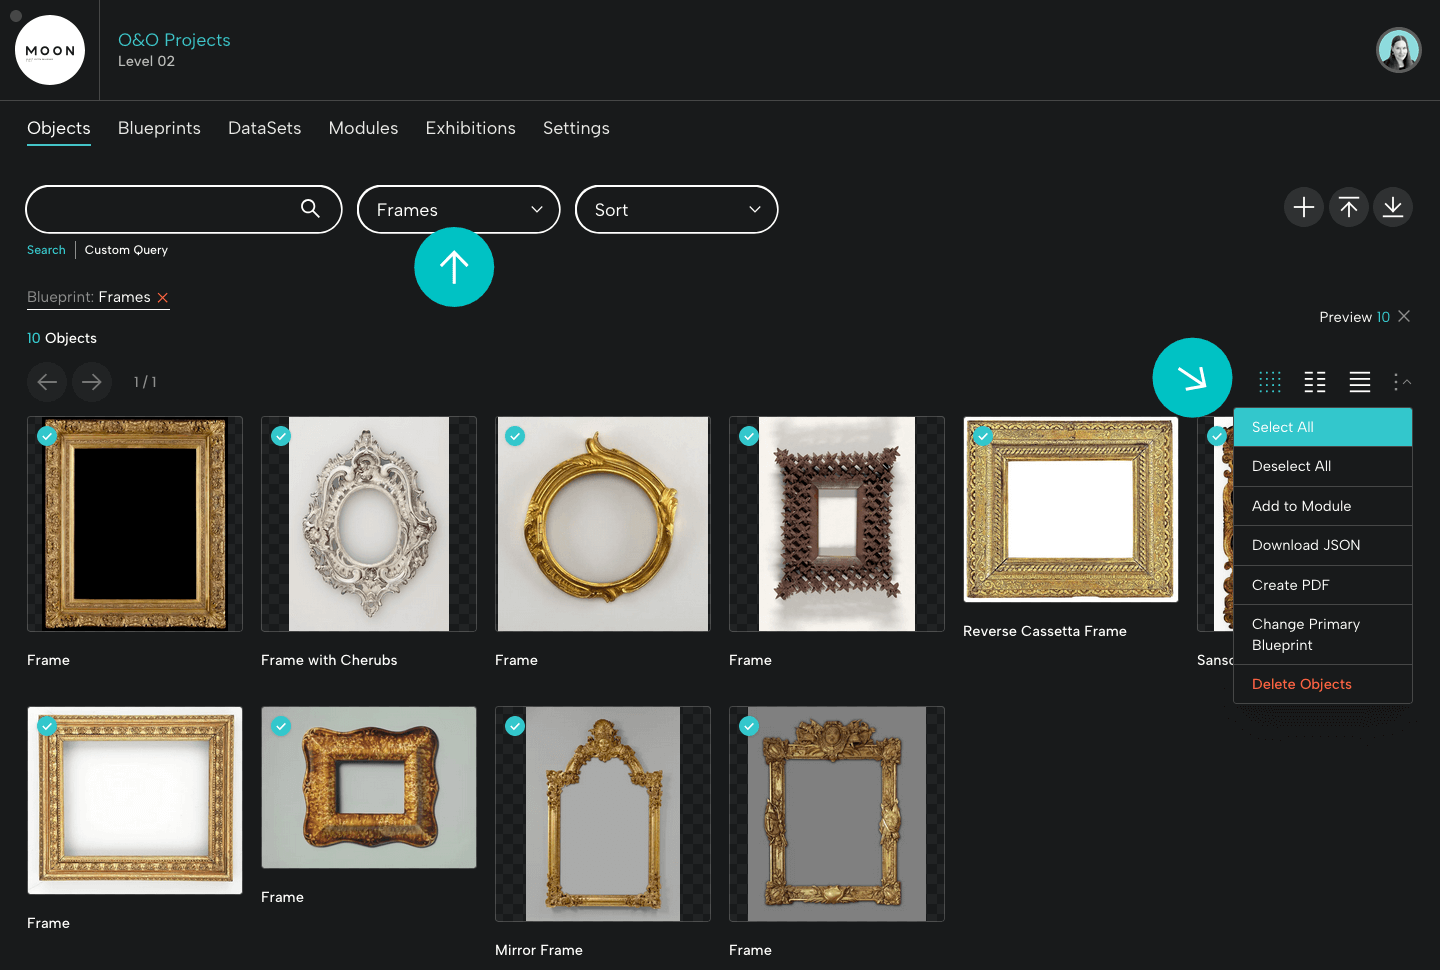
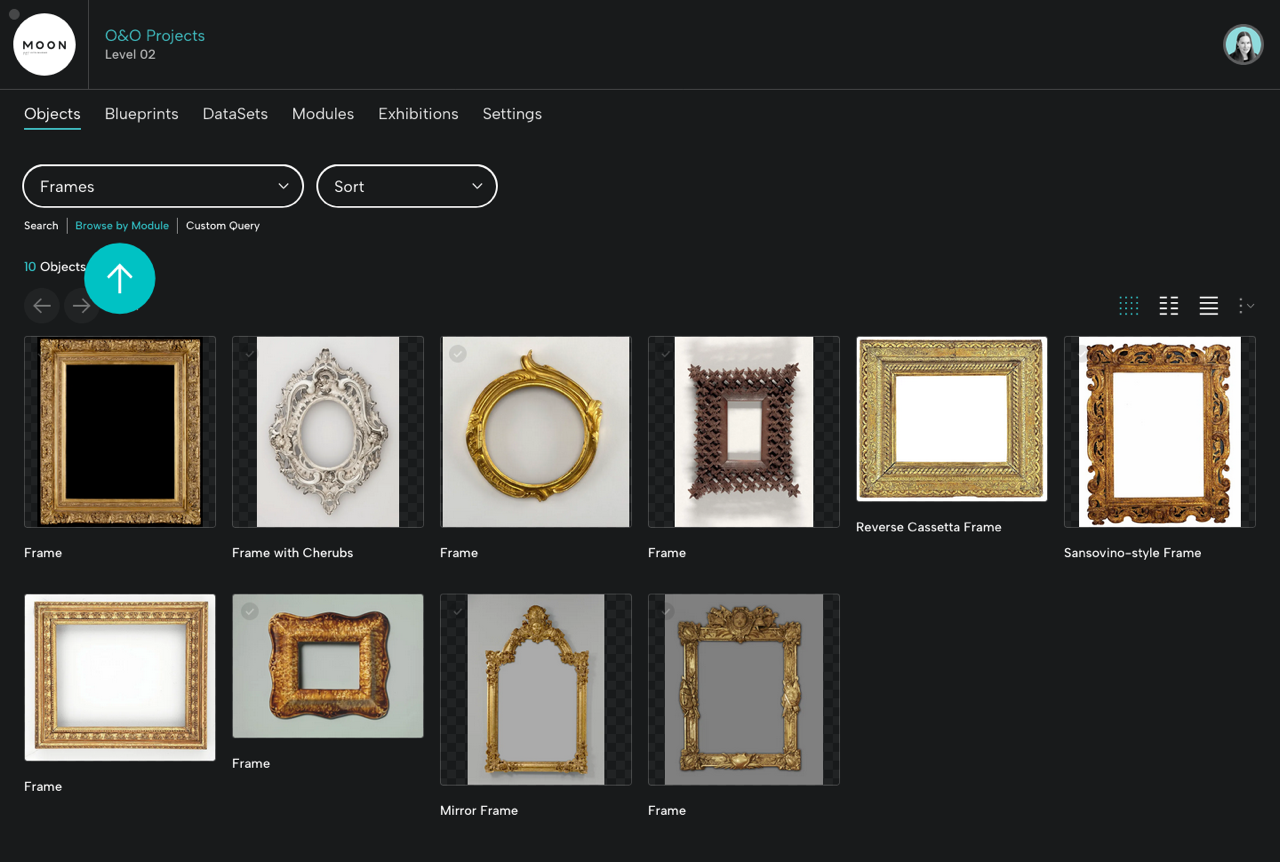
From the Objects page, select objects for your slideshow. Here, we’ve filtered by Blueprint, selected Frames, and then clicked Select All.
You can also click the blue check in the upper left hand corner to select objects one by one.
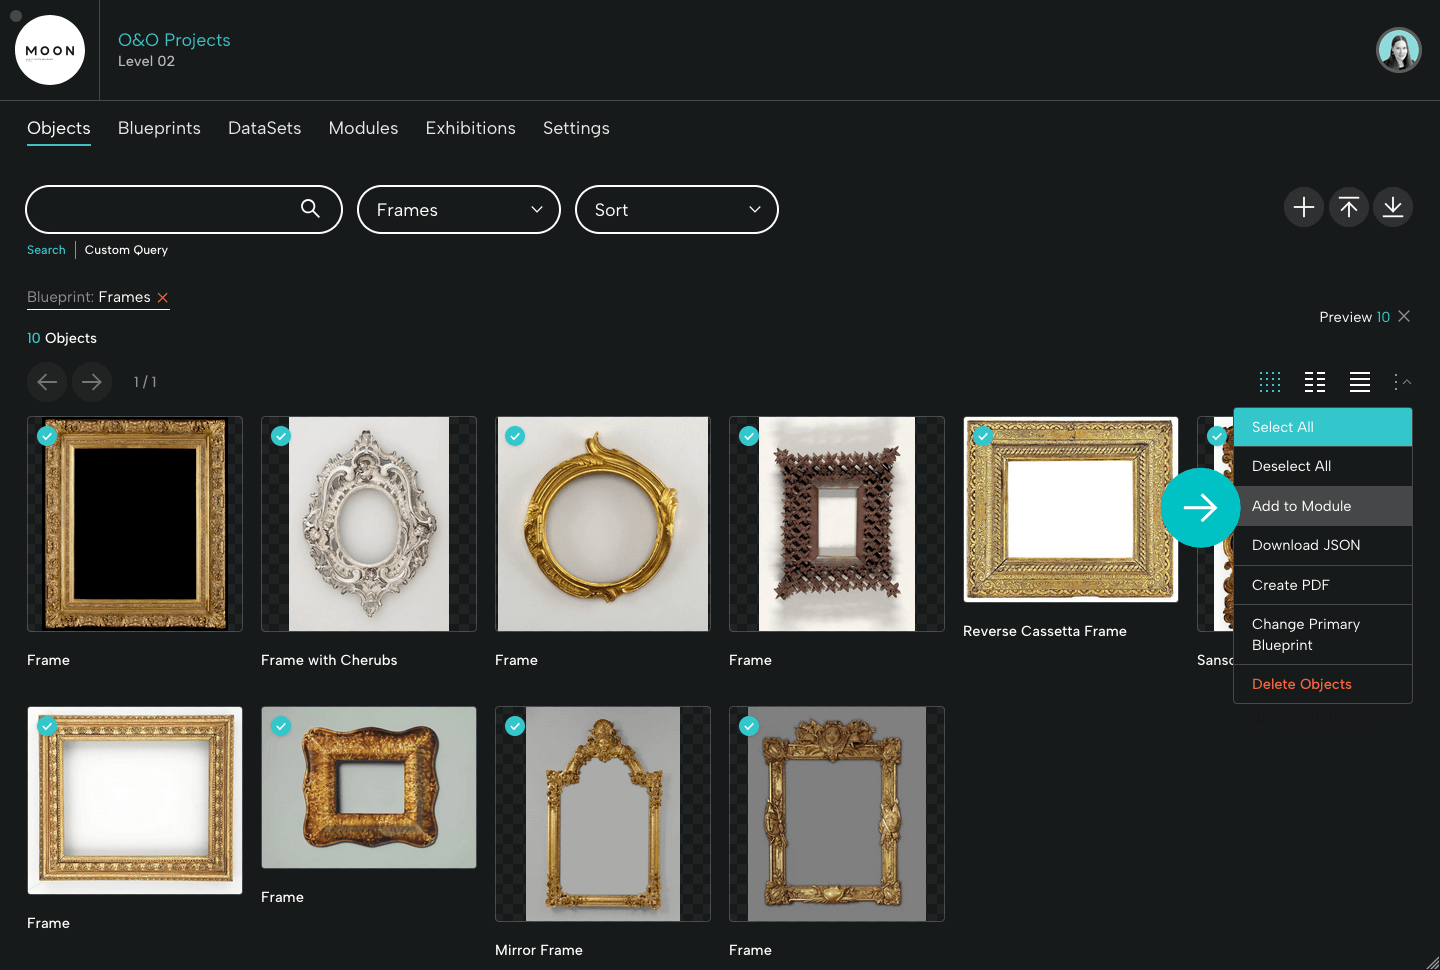
Step 2:
Select Add to Module.
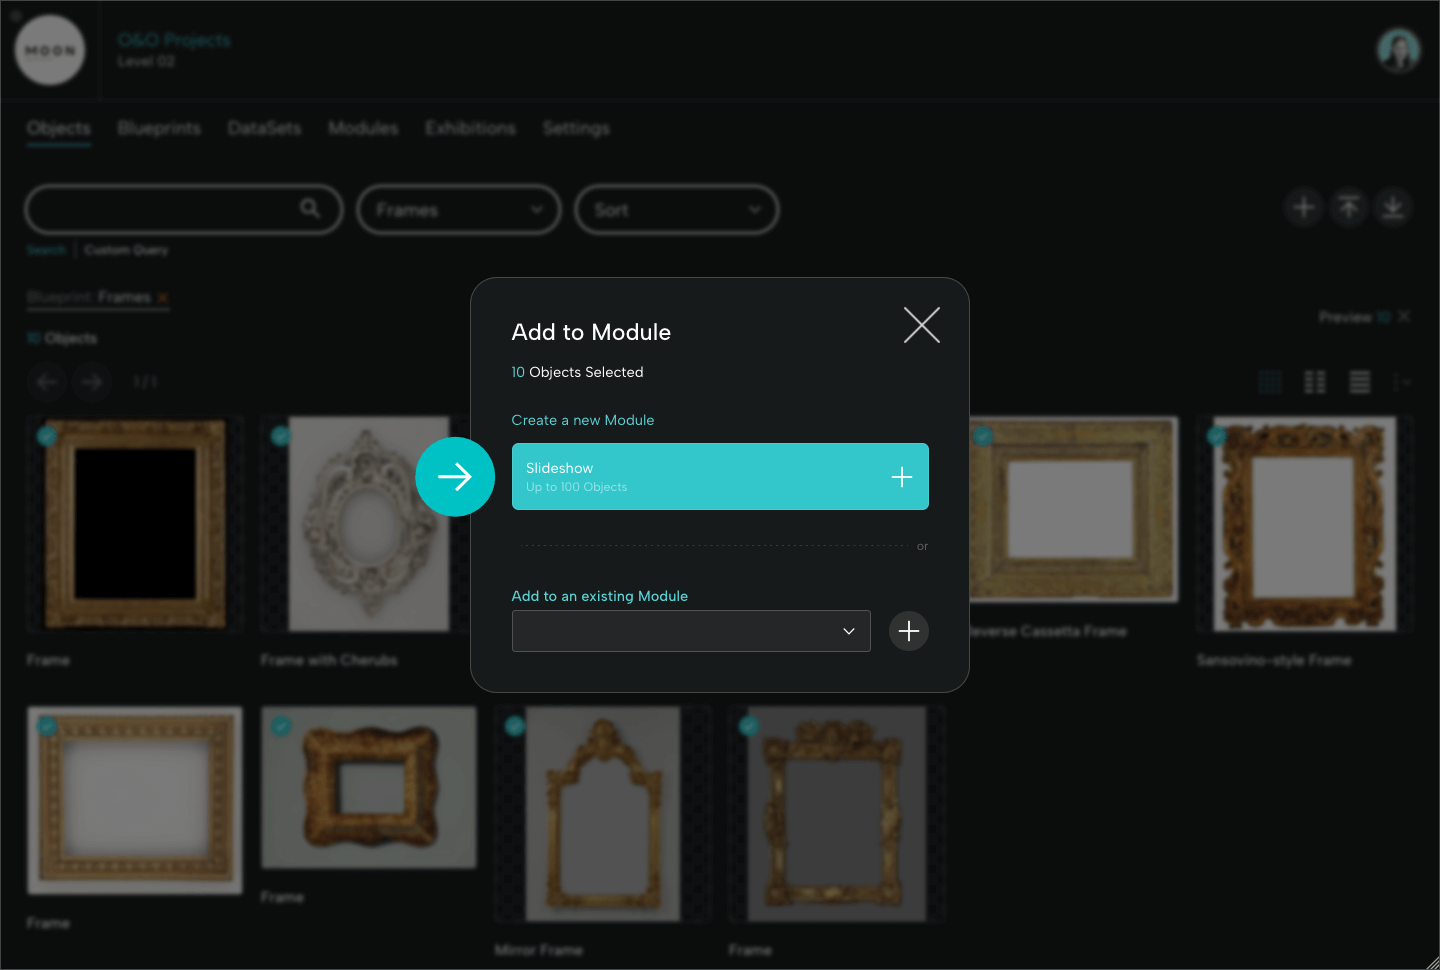
Step 3:
Select Slideshow under “Create a new Module.”
Editing Your Module
Adding a Title:
To give your Module a title, click the pencil icon, enter the title, and then click the green check or the blue Save button at lower right.
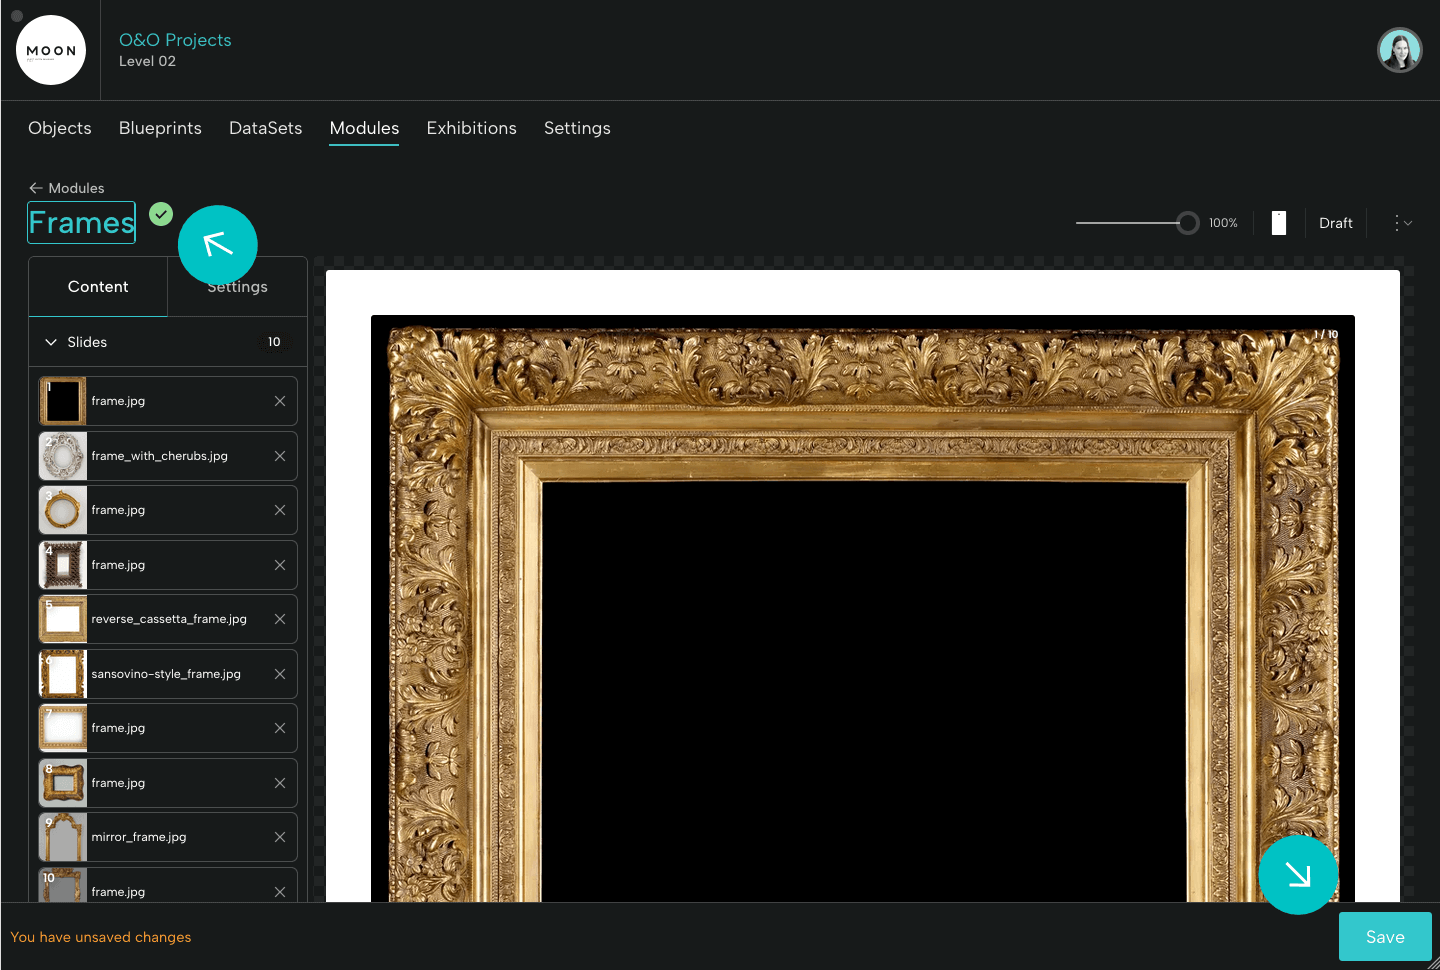
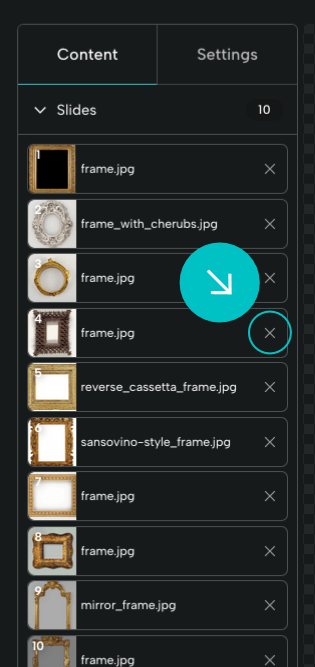
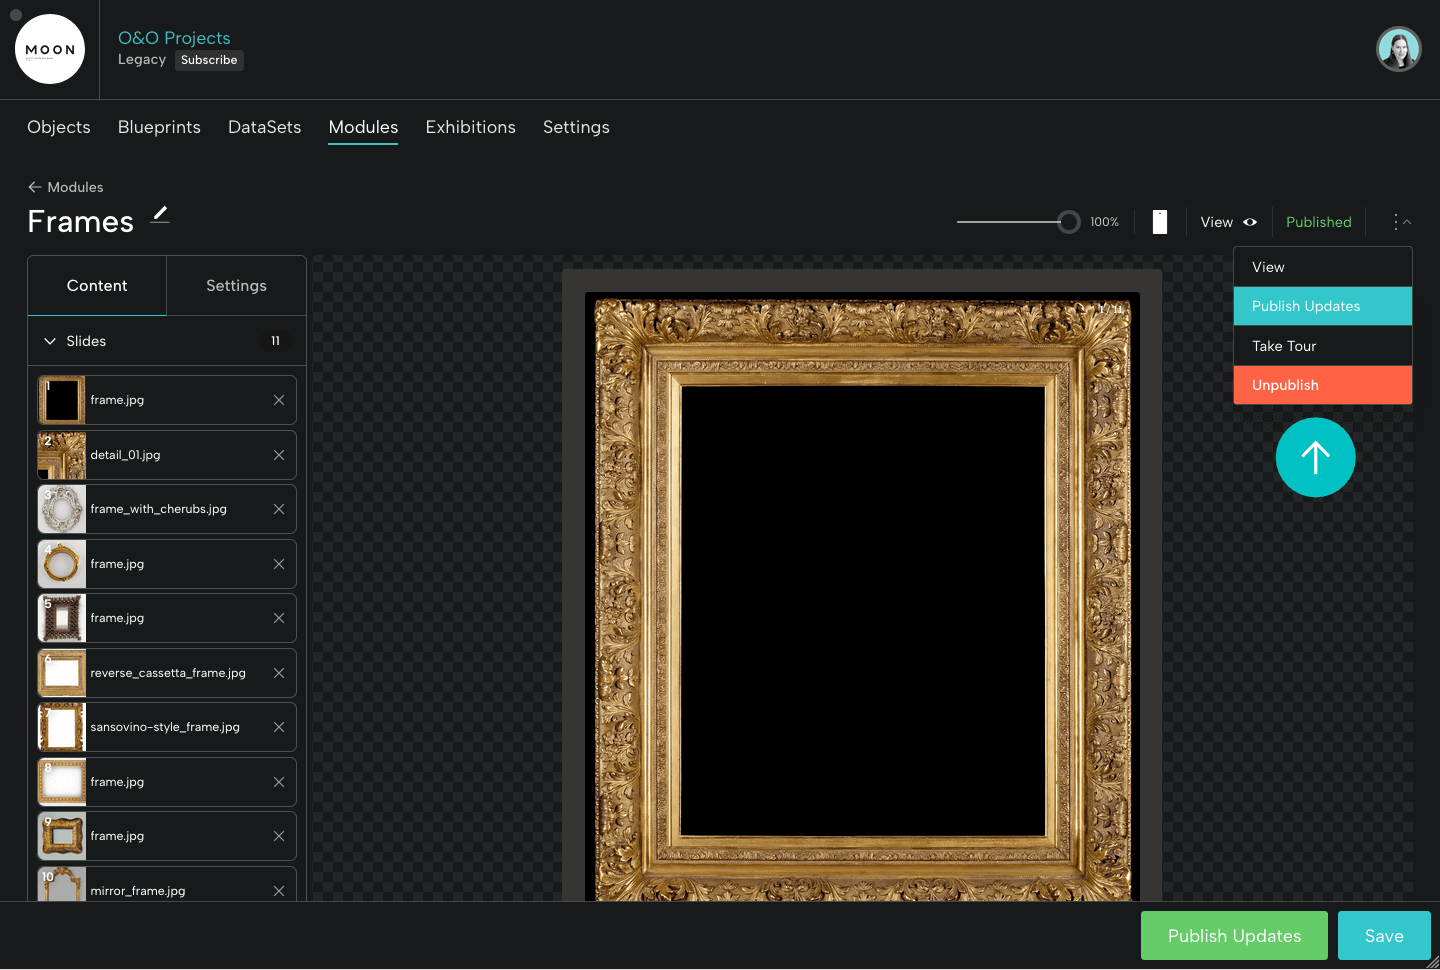
Your Slides:
Under the Content tab, you’ll see slides for your objects. The primary images of the objects you added will appear automatically as slides.
- To delete a slide, just click the X.
- To reorder slides, just drag and drop.
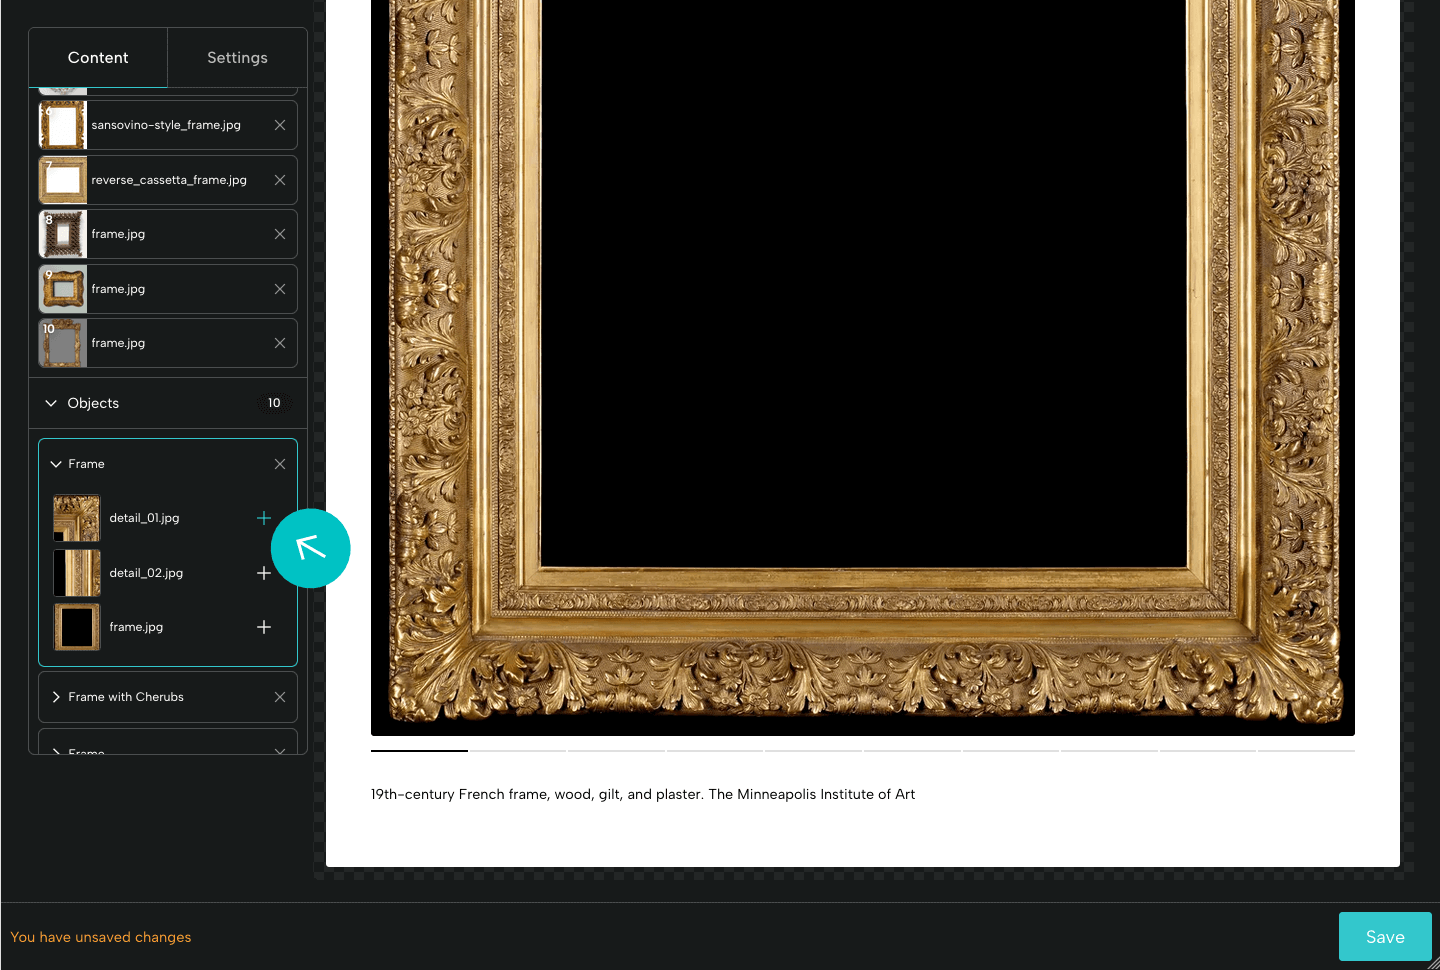
Your Objects and Object Files:
Under Objects, you’ll see a list of all the objects you added to the Module. Click the arrow to open an individual object to see its files. Here, in addition to the primary image, there are two details.
To add a new image to your slideshow, click the plus sign. We'll add “detail_01.”
To remove an object, click the X and then save the Module.
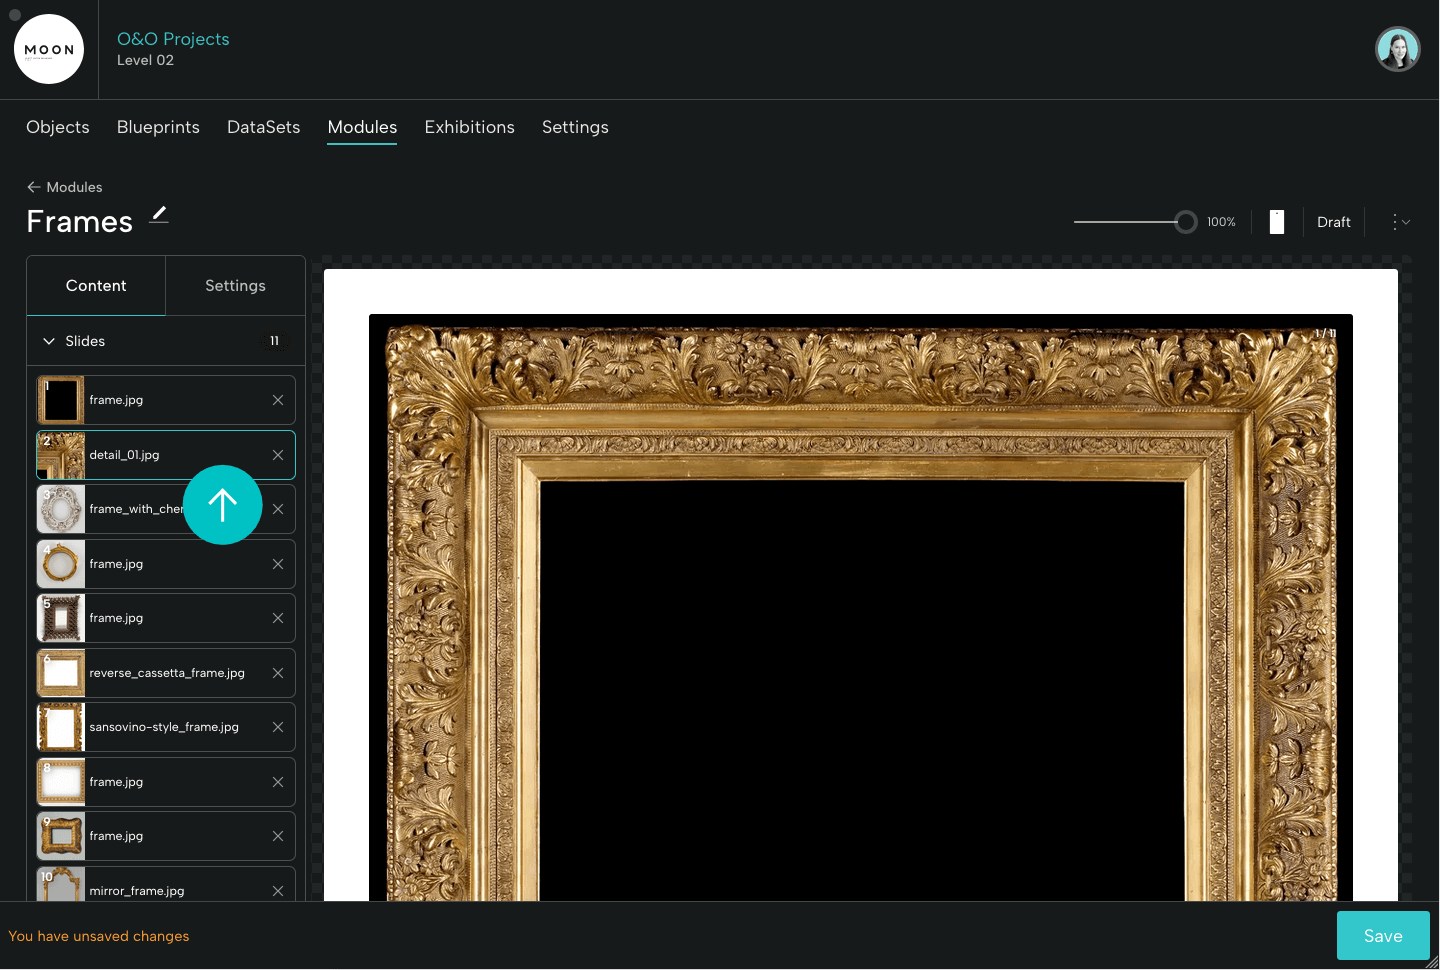
The new slide with "detail_01" will appear at the end of your slide list. Drag and drop to put it in your preferred order.
Adjusting Settings
Under the Settings tab, you’ll be able to style the look and feel of your Slideshow Module. You can make adjustments to: Layout, Appearance, and Options.
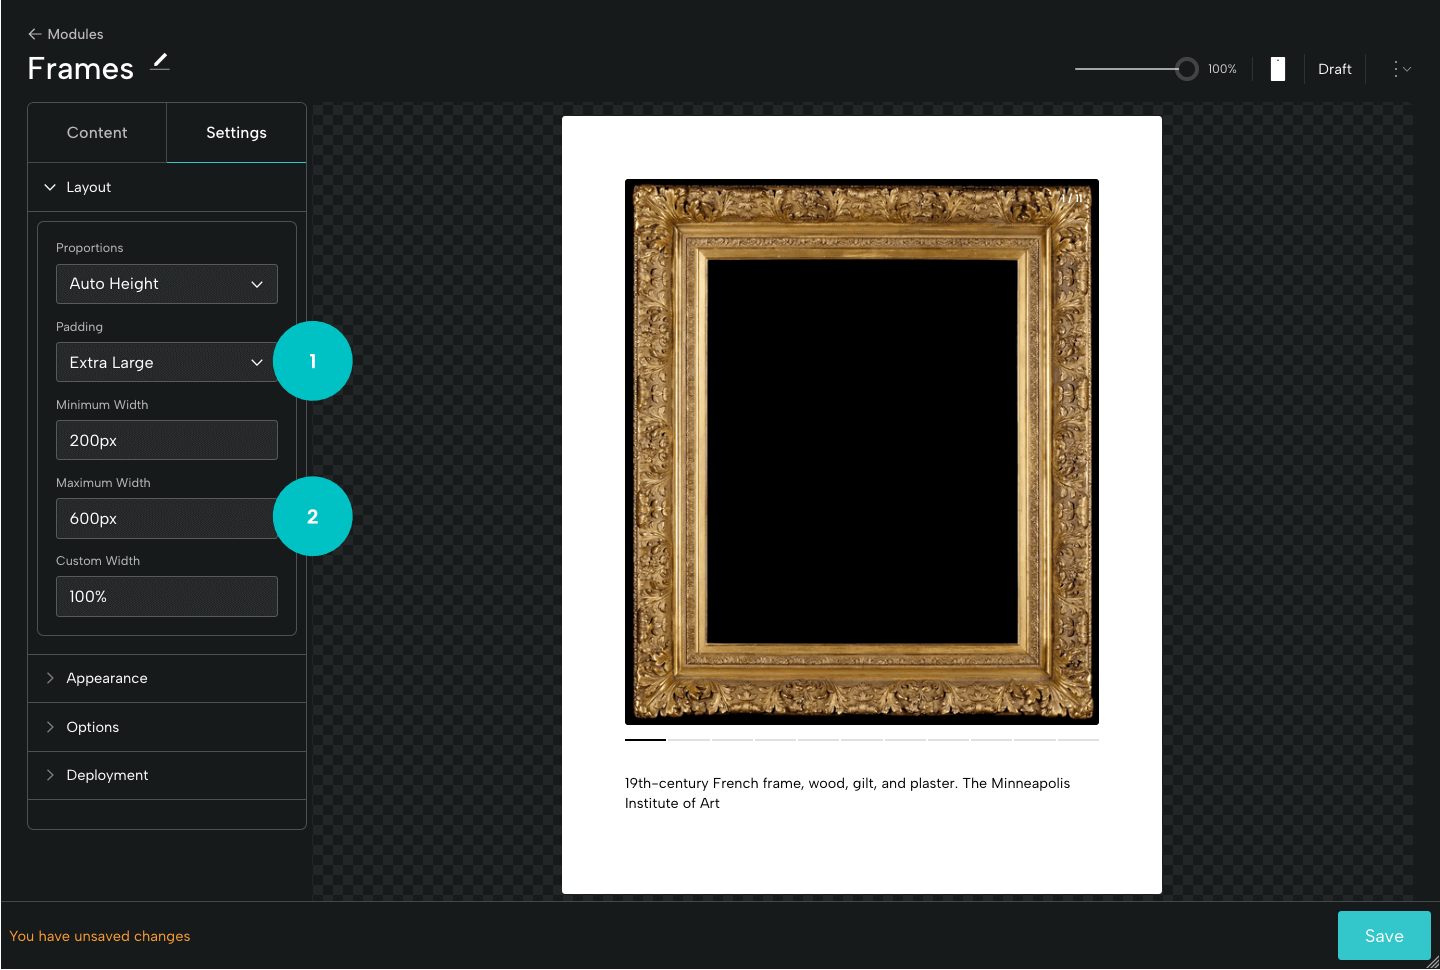
Layout:
In Layout, you’ll be able to adjust the proportions and width of your Module.
- Here we're showing Extra Large padding around the image.
- For Maximum Width, we’ve entered 600px.
Please Note: Your preferred Maximum Width will be determined by the format and dimension of your images, and by your desired size for the module. Finding the ideal width for your content may require some trial and error. Where possible, we recommend grouping similarly sized images together.
- For a slideshow with some or all images in portrait orientation, you might try a Maximum Width of 600px, 800px, or 1000px.
- For images with landscape orientation, you might leave the Maximum Width at 100% (default) or try a Maximum Width of 1024px or 1200px.
Please note: The number must be followed directly by px (no space). For example, 700px or 1400px.
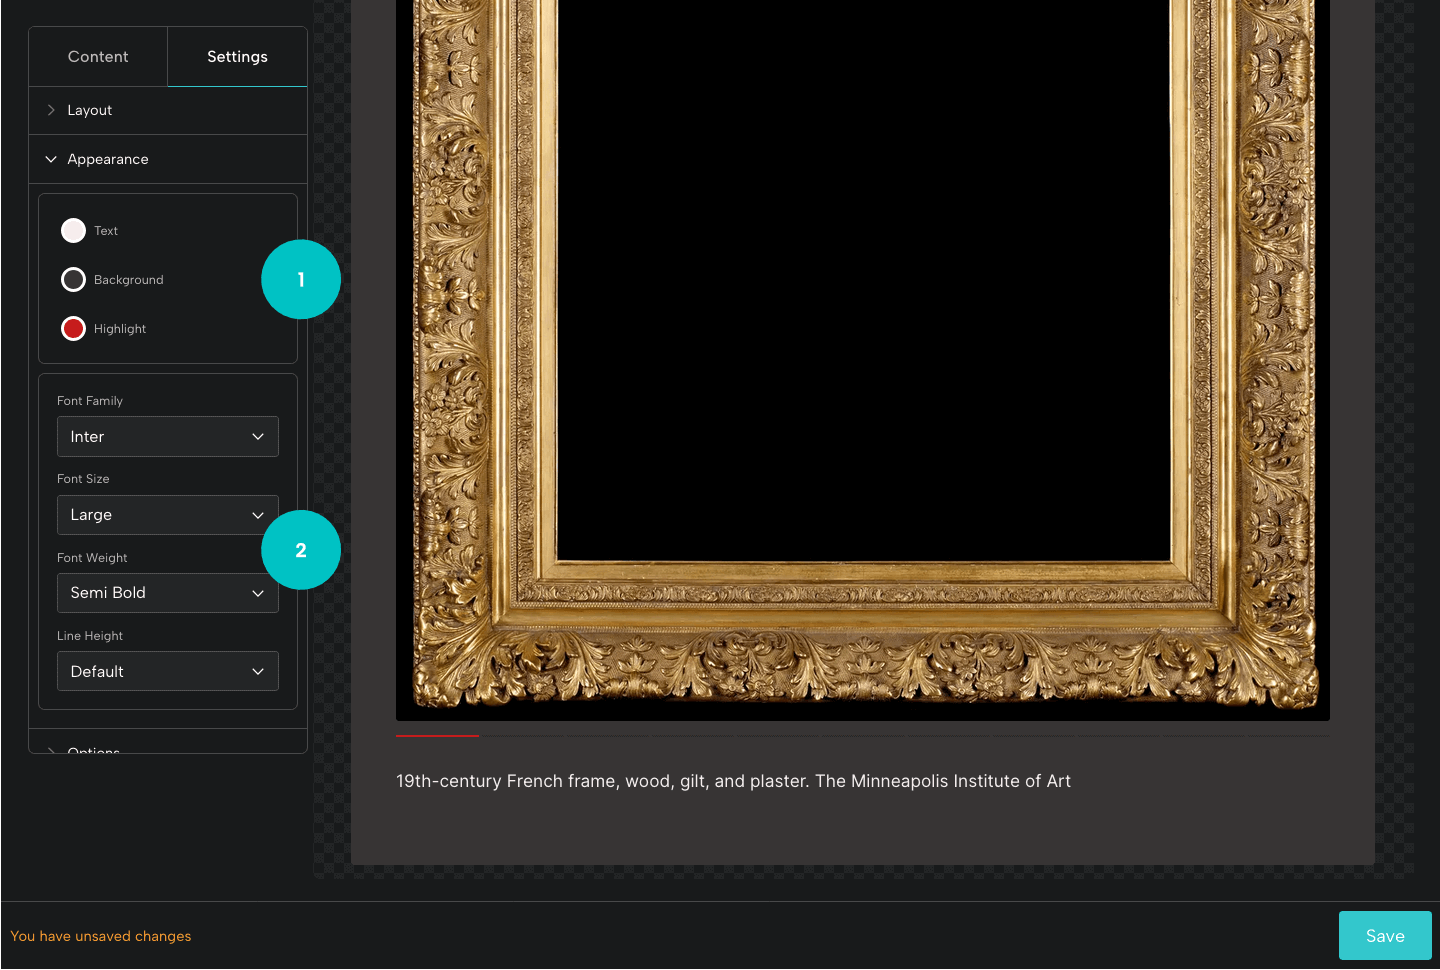
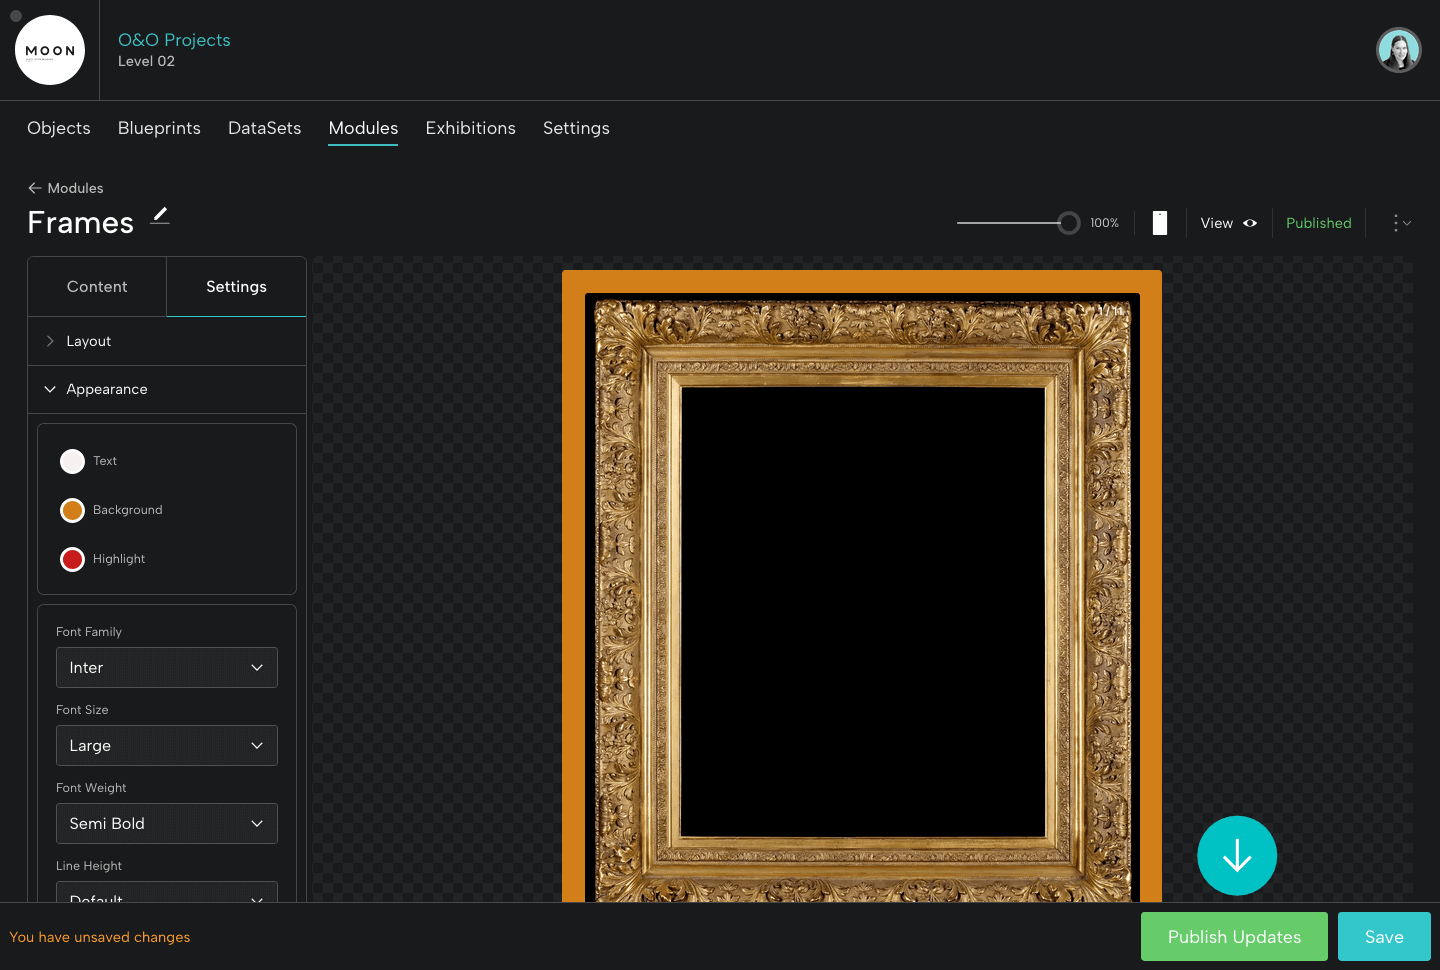
Appearance:
In Appearance, you’ll be able to:
- Select colors for your text, background, and highlight (for slideshow controls).
- Choose your Font Family, Font Size, Font Weight, and Line Height.
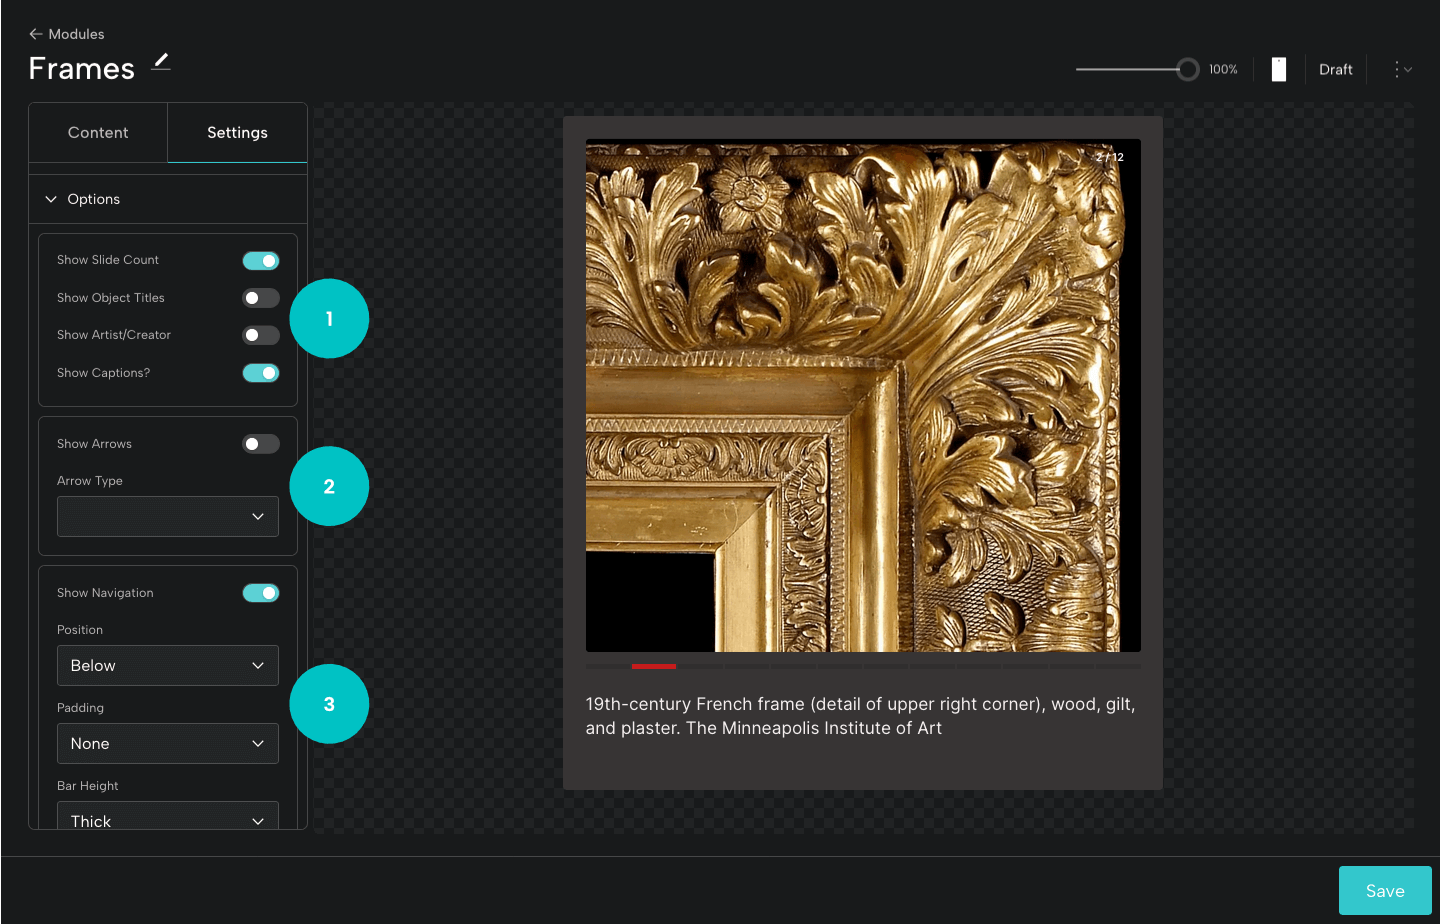
Options:
In Options, you’ll be able to toggle on options for:
- Showing the slide count, the captions, the object title, and the artist or creator.
- Showing arrows. If you display arrows, you'll be able to select an arrow type.
- Displaying the navigation bar. You can determine its position, padding, and height.
Publishing a Module
When you’re ready to share your module, if you have a Level 02 or Level 03 Base, you can publish it. This will create an Objects and Order URL at which your module can be viewed.
You’ll also have the option to embed the lightweight Module on your own website. For more on embedding, see Sharing a Module.
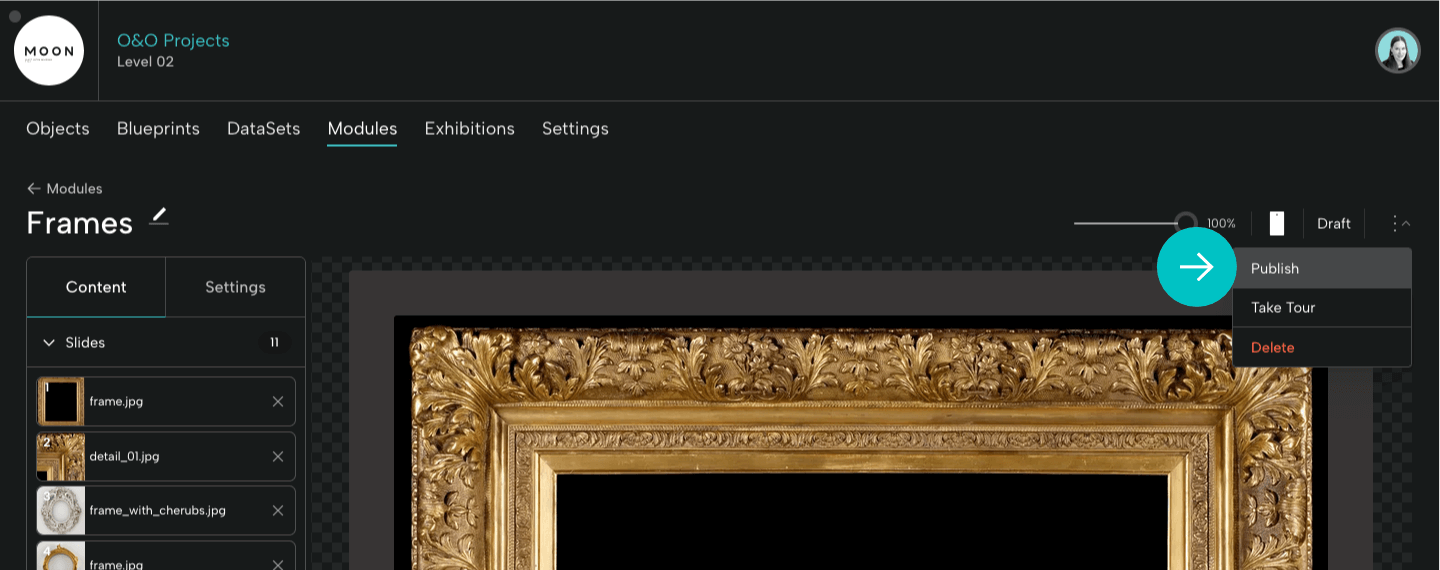
Step 1:
From the menu, select Publish.
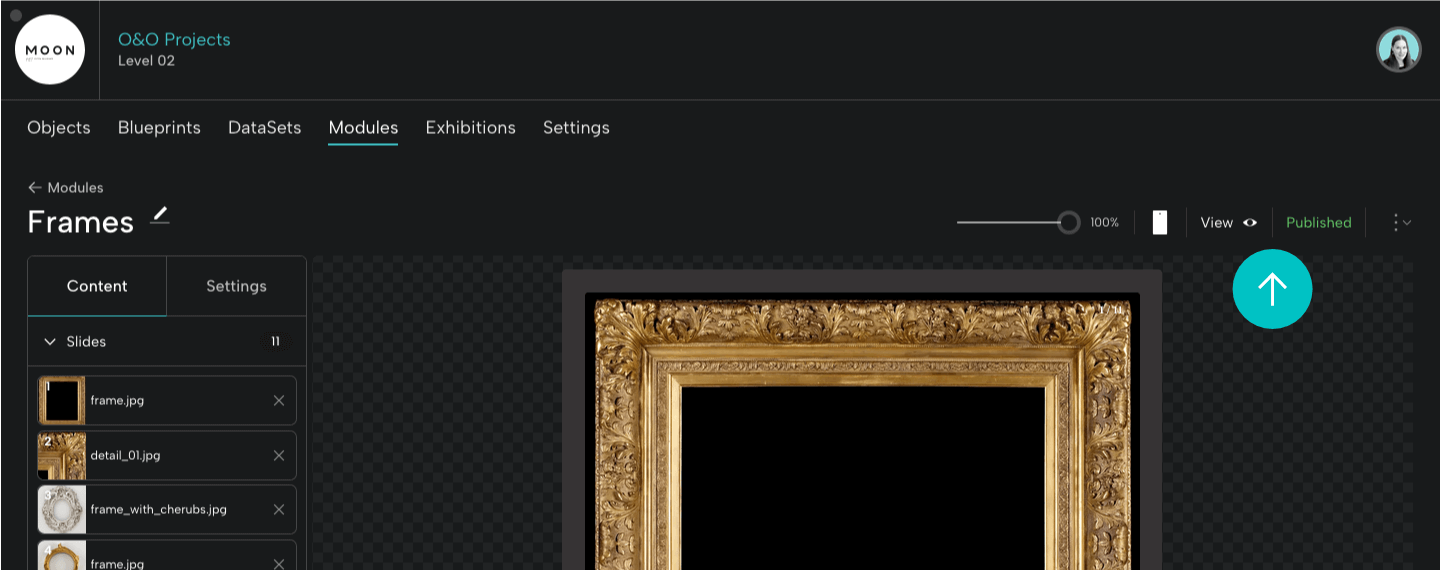
Step 2:
After publishing, the Module will display as Published instead of Draft.
Click View to see your Slideshow Module.
Step 3:
The published Module will be displayed in a new window at a shareable URL.
Please Note: Once you share the link, remember that recipients of the link could share it with others.
Here's the URL for our Frames Slideshow Module:
https://objectsandorder.com/view/modules/xzDjhkdZ5hLzRwn2lCd1
Updating a Published Module
It’s easy to update your published Module. For example, if you decide to change the background color. Remember to Save as you make updates along the way. Then, when you’re ready to replace the current version, click the green button to Publish Updates.
Your Slideshow Module will be updated when you view it at the shareable URL. (Please Note: You may need to clear your cache to view the updated version.)
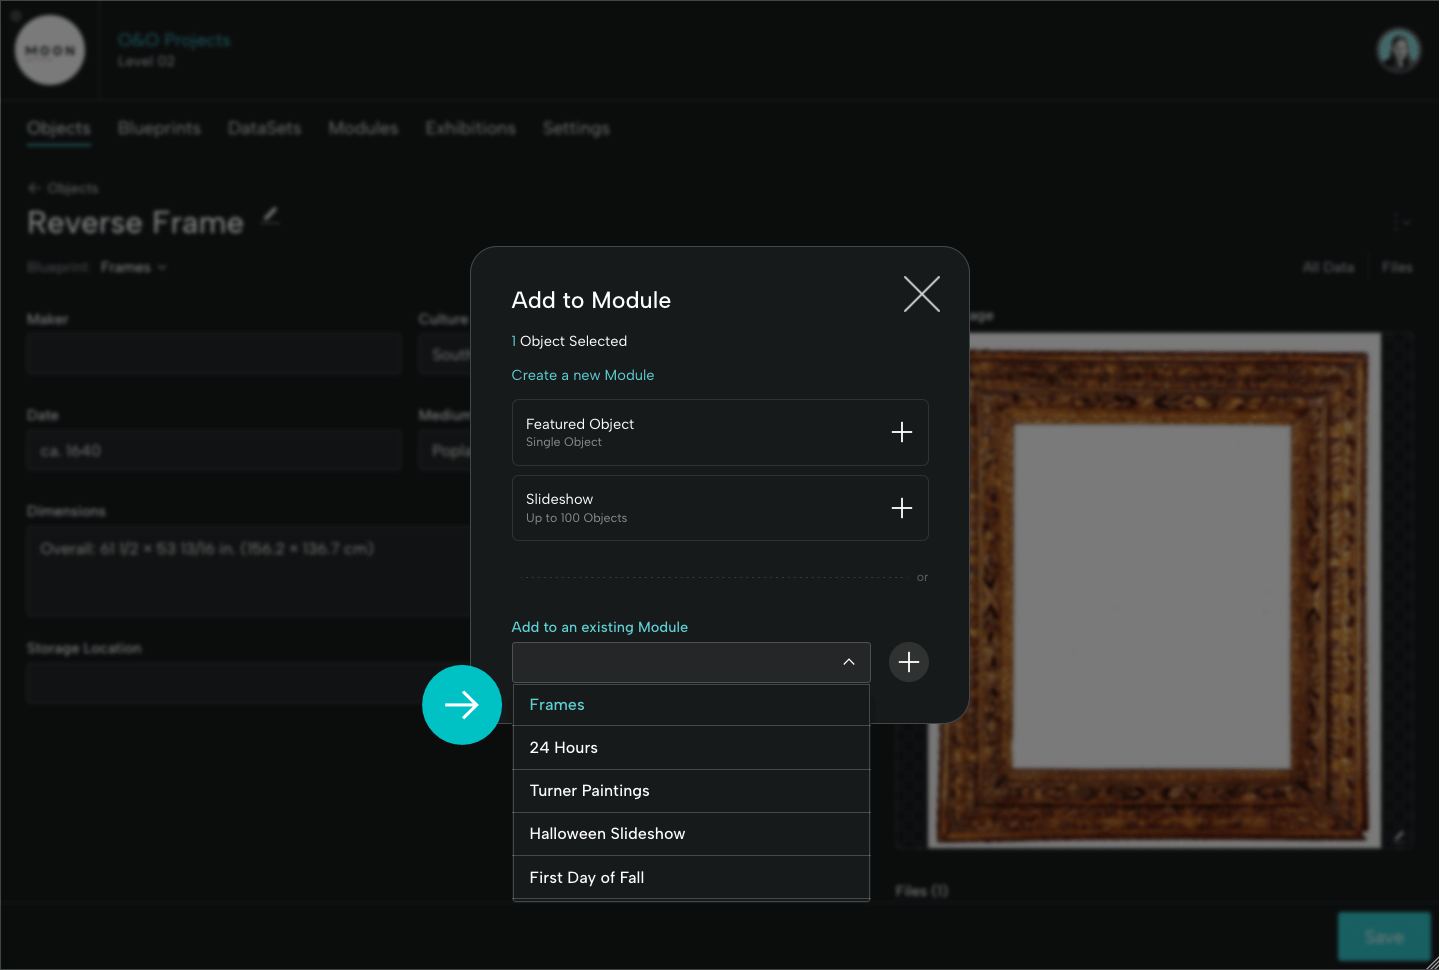
Adding an Object
If you need to add a new object to your Slideshow Module, you can do this from the Objects page (by clicking the blue check in the upper left hand corner of the object) or from an Object page by using the drop down menu at right and clicking Add to Module.
Under Add to an existing Module, you'll see a drop down menu of the Modules you've created. Here we'll select Frames.
Drag and drop the new slide into the preferred order. Remember to Save and Publish Updates when ready.
Unpublishing a Module
If you decide to unpublish your Slideshow Module, select Unpublish from the menu.
Please Note:
- When you unpublish a Module it returns to draft form, and the URL for that Module will no longer be active. If you publish that same Module again, it will retain the same URL.
- If the unpublished Module is embedded, a Content Unavailable message will be displayed on the site on which it is embedded. If you publish that same Module again, the embedded Module will display.
- If you do not intend to publish the Module again, remove the embed code from your site.
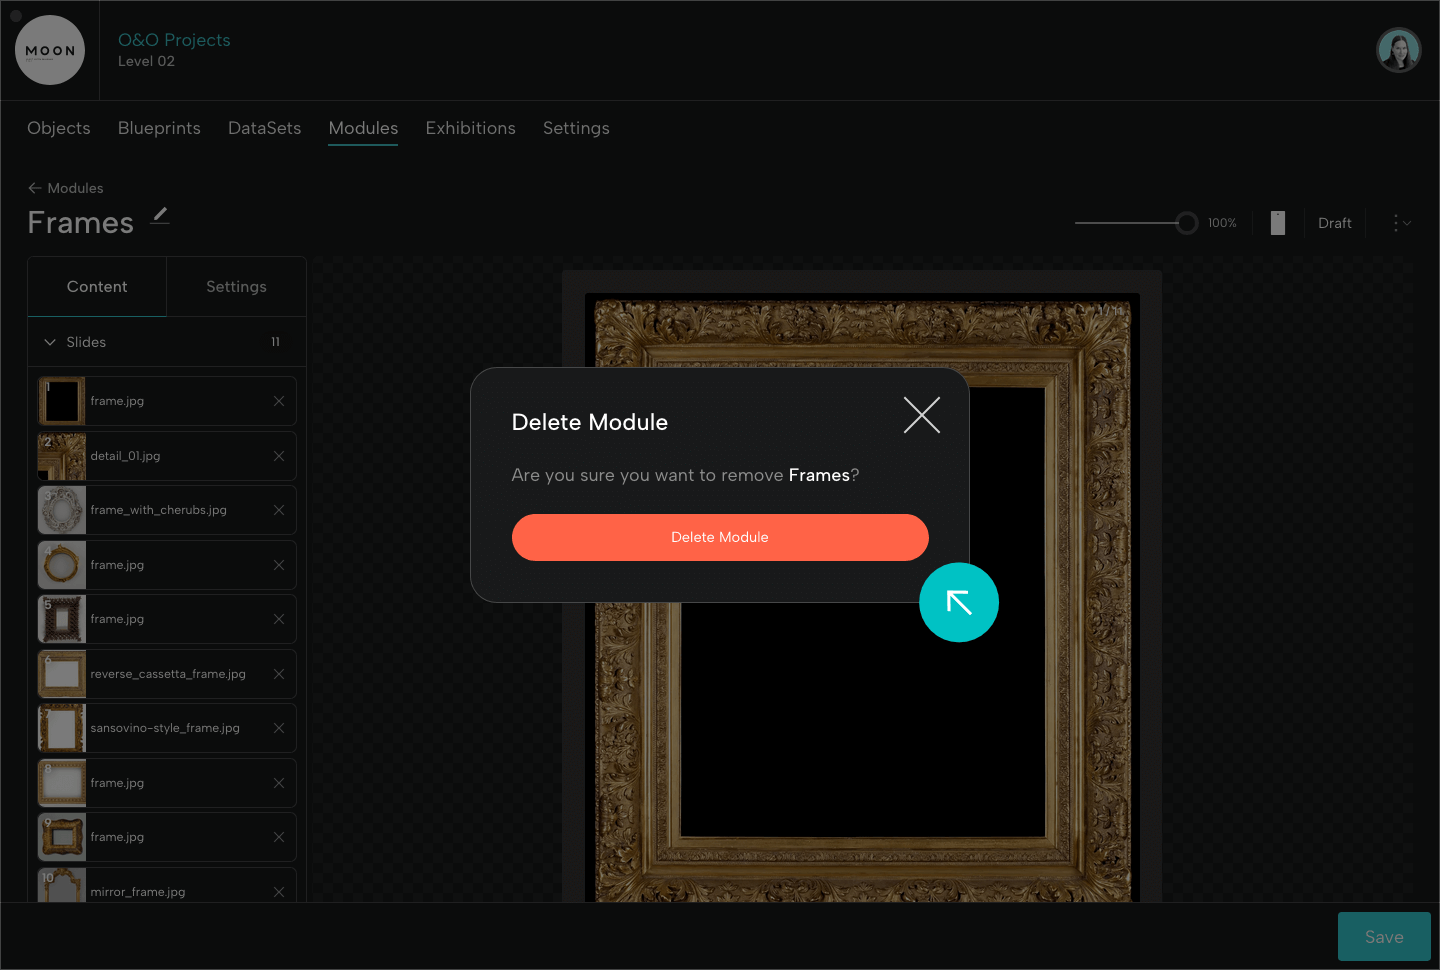
Deleting a Module
If you decide to delete your Slideshow Module, first you'll Unpublish it. Then select Delete from the drop down menu. You'll be asked to confirm your preference to delete the Module.
Please Note: If you delete a Module that is embedded on your site, a "Content Unavailable" message will be displayed once it has been unpublished. You must remove the embed code from your site.
Viewing Your Module Objects
To see all the objects in a particular Module on the Objects page, you can Browse by Module and select the title. This is helpful when you need a quick view of Module objects or if you want to create a PDF or add objects to another Module (or to an Exhibition -- coming soon).
Adding Publishable Modules
If you’d like to share more Modules (of course you would!), you can easily add Modules to your Base subscription in Settings. Visit Pricing for more information.
Slideshow Modules are a fantastic way to share groups of objects with colleagues, collaborators, and audiences.
Have questions? Need some help? Get in touch.