You’ve done a terrific job organizing your object collection!
Now you’re ready to share engaging content created with your objects. That’s exactly what Modules are for. With Modules, you can easily select the object information and media files you want to display.
For a Base on the Level 01 Plan (free, no credit card required), you can create Modules, but you can't publish them. To publish Modules, start a Level 02, 03, or 04 Base Subscription.
Learn more in Sharing a Module.
Module Types
Featured Object Module
The Featured Object Module is the perfect way to showcase one of your objects. You can display multiple images, audio, and video files.
This Module is ideal for:
- Highlighting a new acquisition or donation
- Showcasing your latest work
- Presenting a key exhibition object
- Featuring an object of the day, week, or month
- Telling the story of a work's discovery, provenance, conservation, etc.
- Creating digital object labels
This guide will focus on creating a Featured Object Module.
Slideshow Module
With the Slideshow Module, you can add up to 100 objects. It’s ideal for:
- Highlighting a thematic selection of works
- Showcasing your latest creations
- Presenting key exhibition objects
- Enhancing an in-gallery object label with an option to view additional images digitally
For more on creating this type of Module, see Making a Slideshow Module.
More Modules coming soon!
Adding a New Module
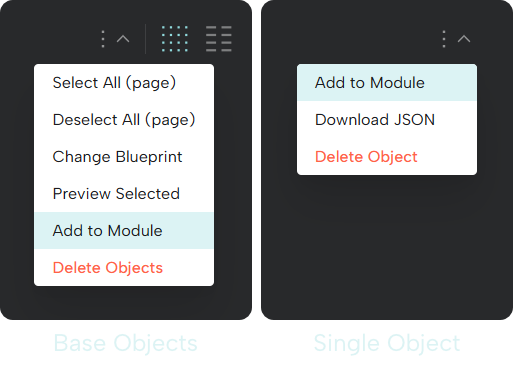
Step 1:
From the Objects page (after selecting one object), or from an individual Object page, use the menu to select Add to Module.
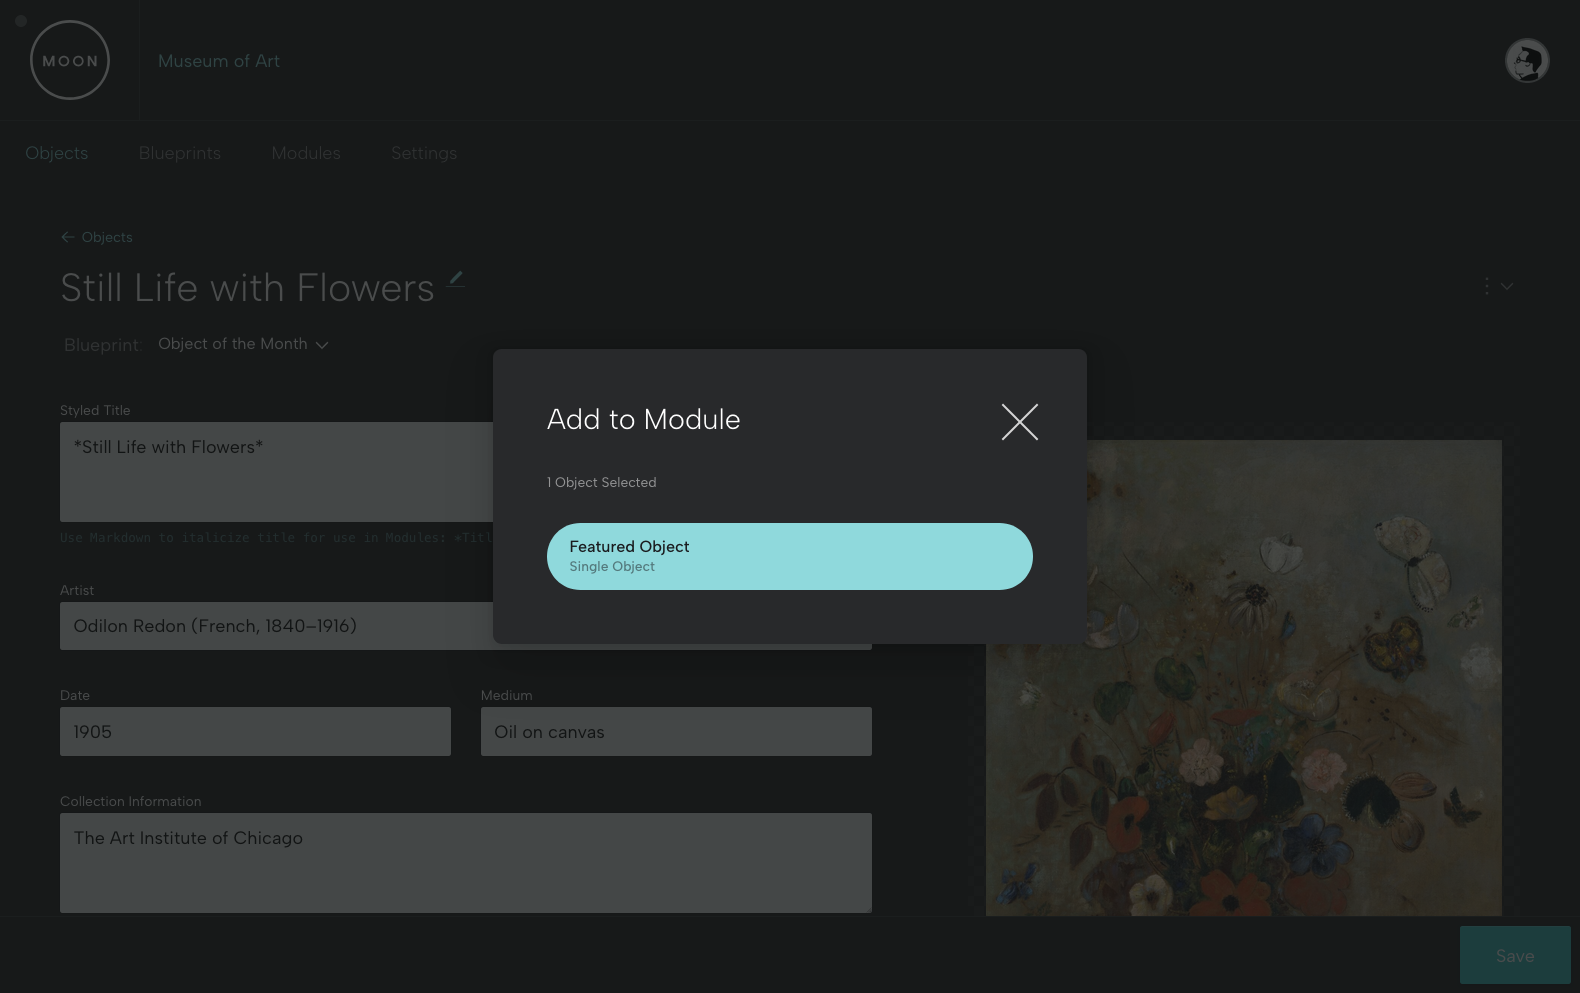
Step 2:
Select Featured Object.
Editing Your Module
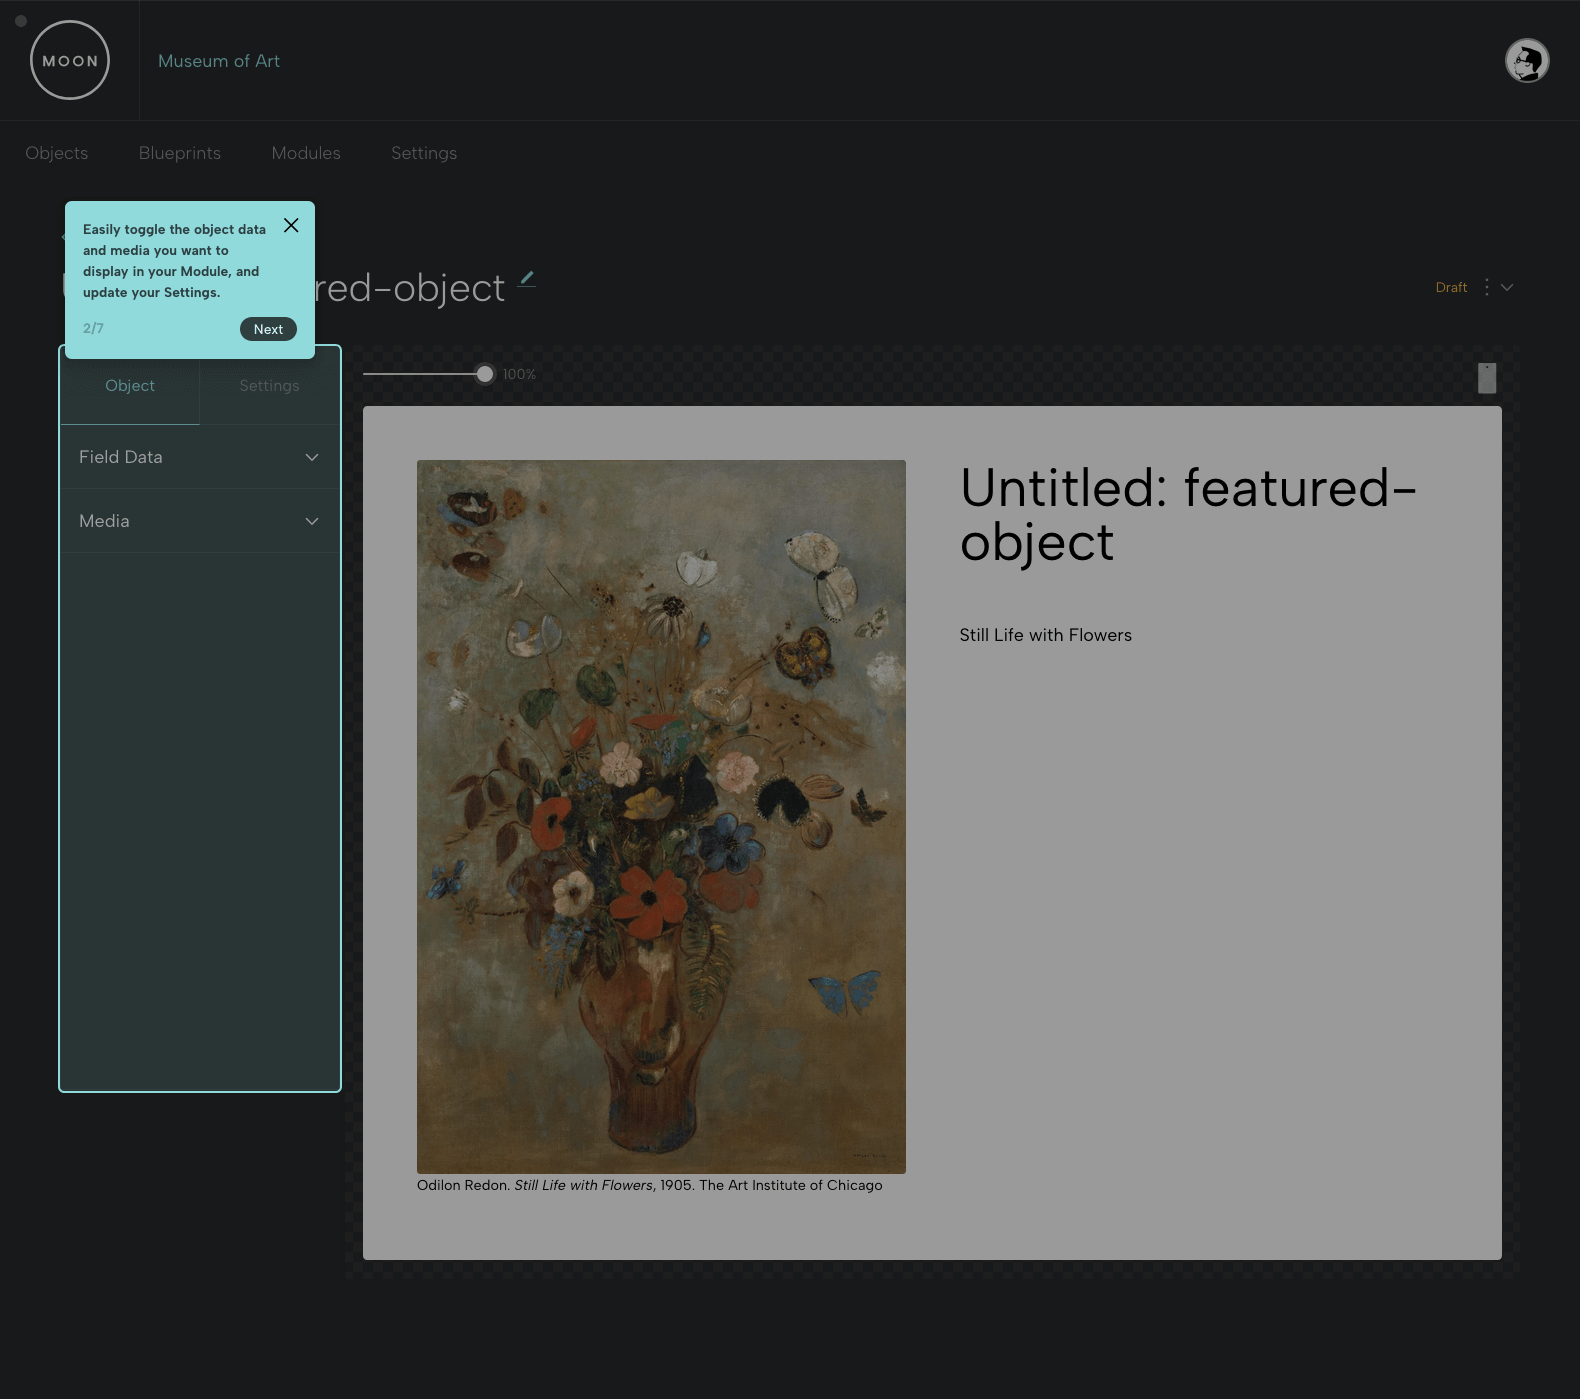
When you get started, you’ll take a short, helpful tour of the Module Builder (you can access the tour from the menu if you’d like to see it again).
Step 1:
Give your Module a title. You’ll decide if you want to display this title later.
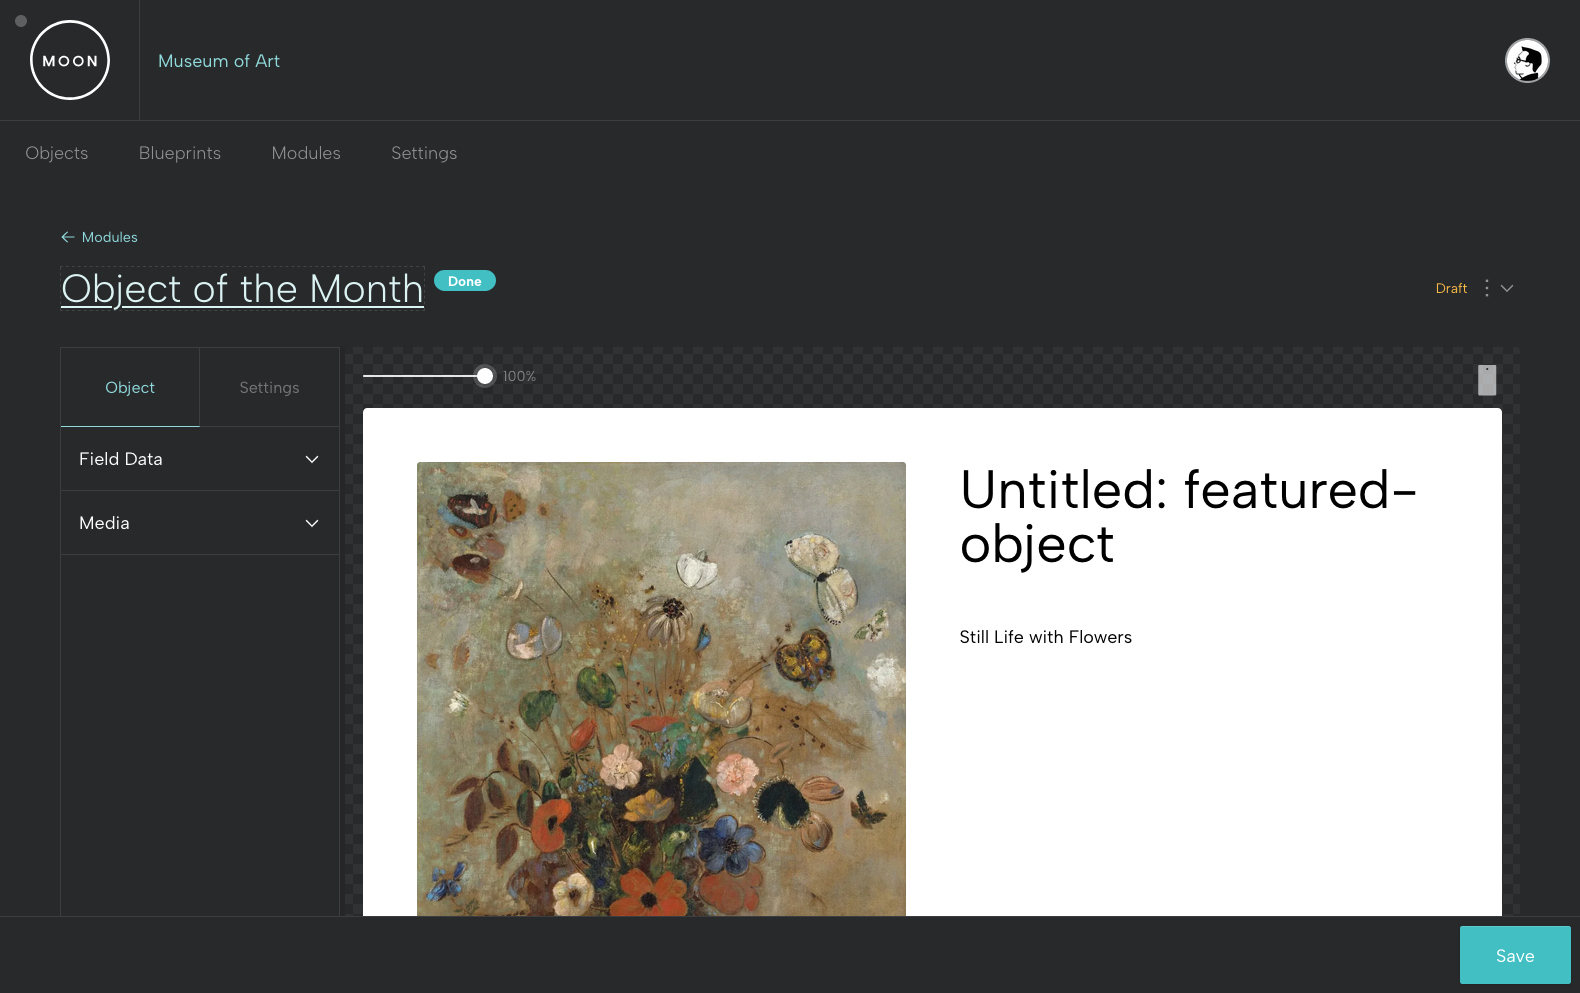
Step 2:
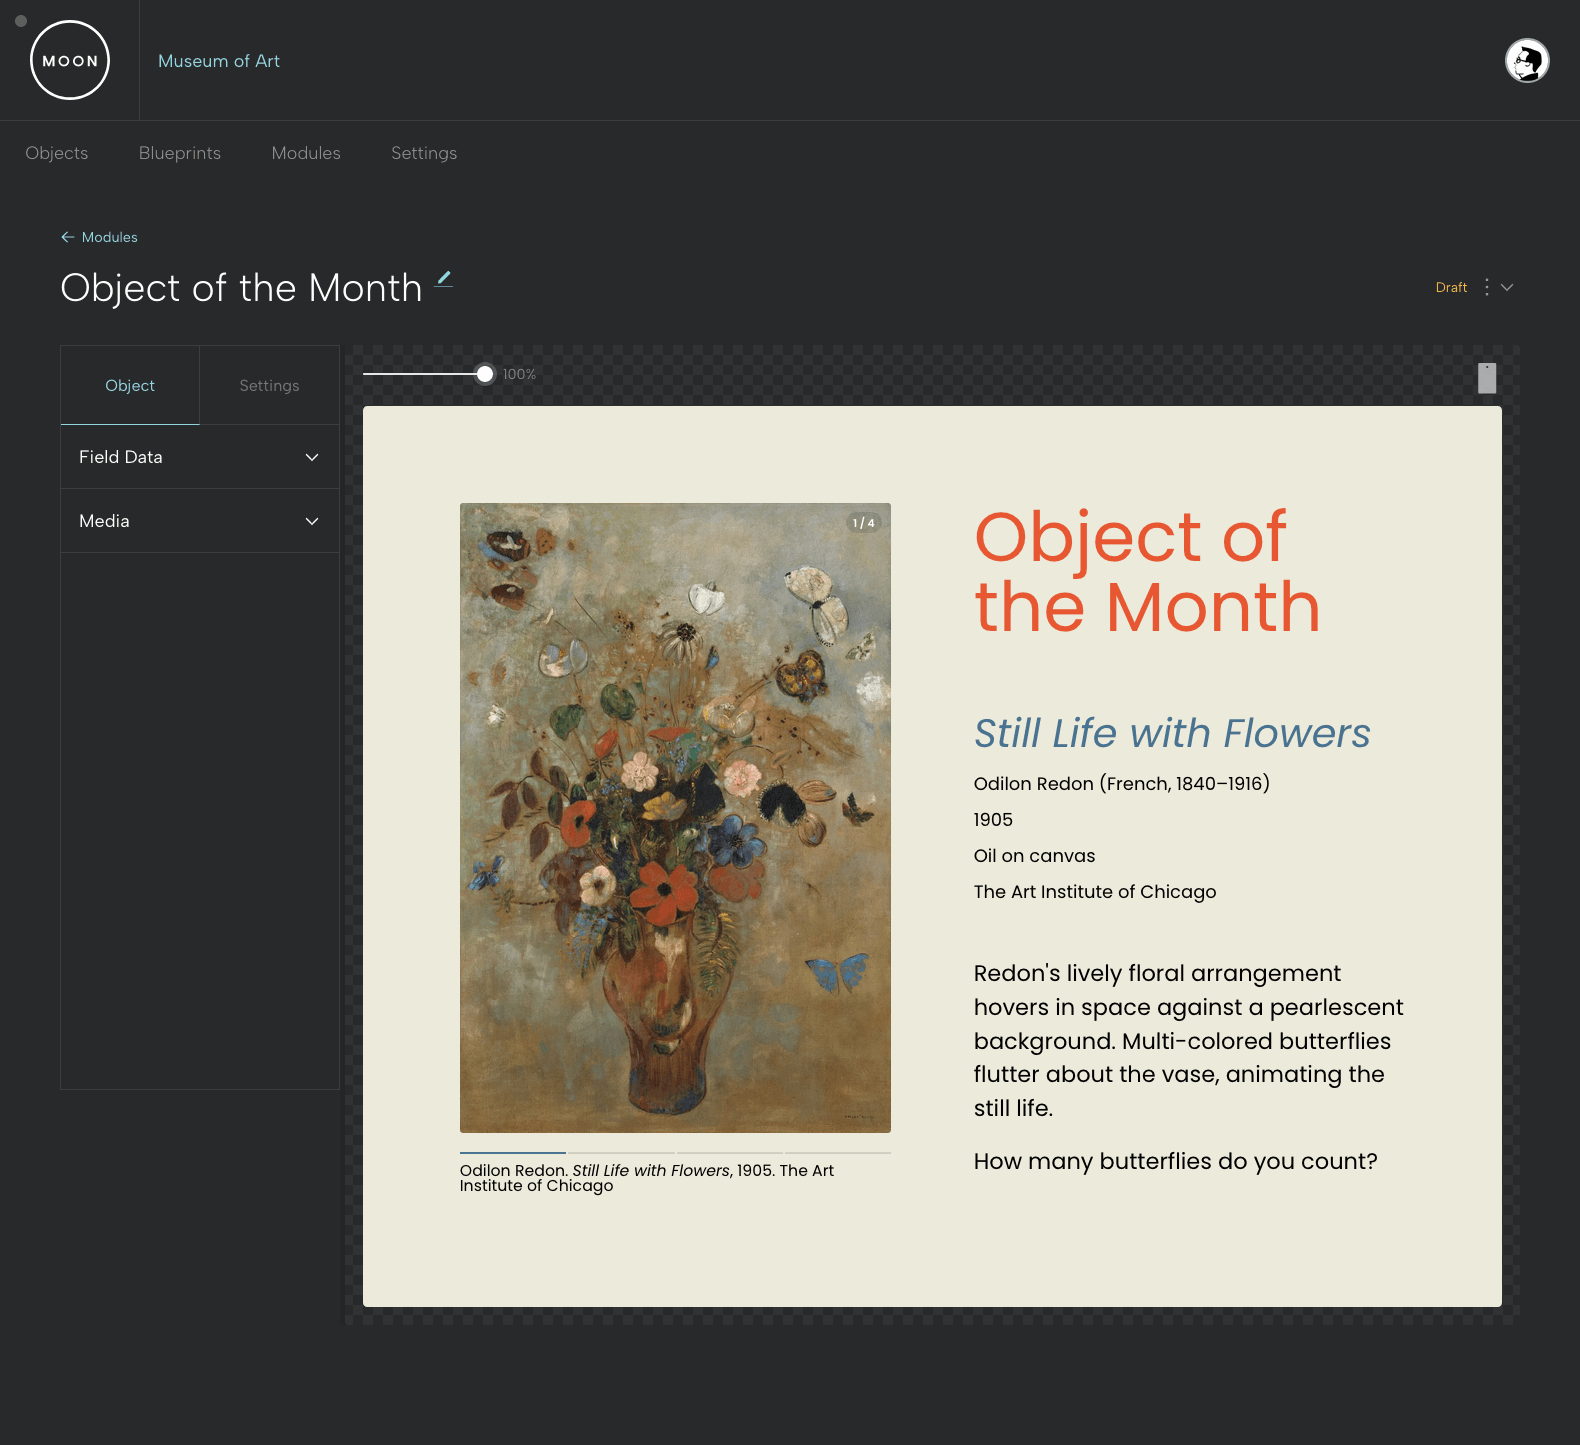
In the Module Editor, under Object, select Field Data. You’ll see all the data for your object and all the Blueprint fields in which you’ve saved information. Title appears first; other fields appear in alphabetical order.
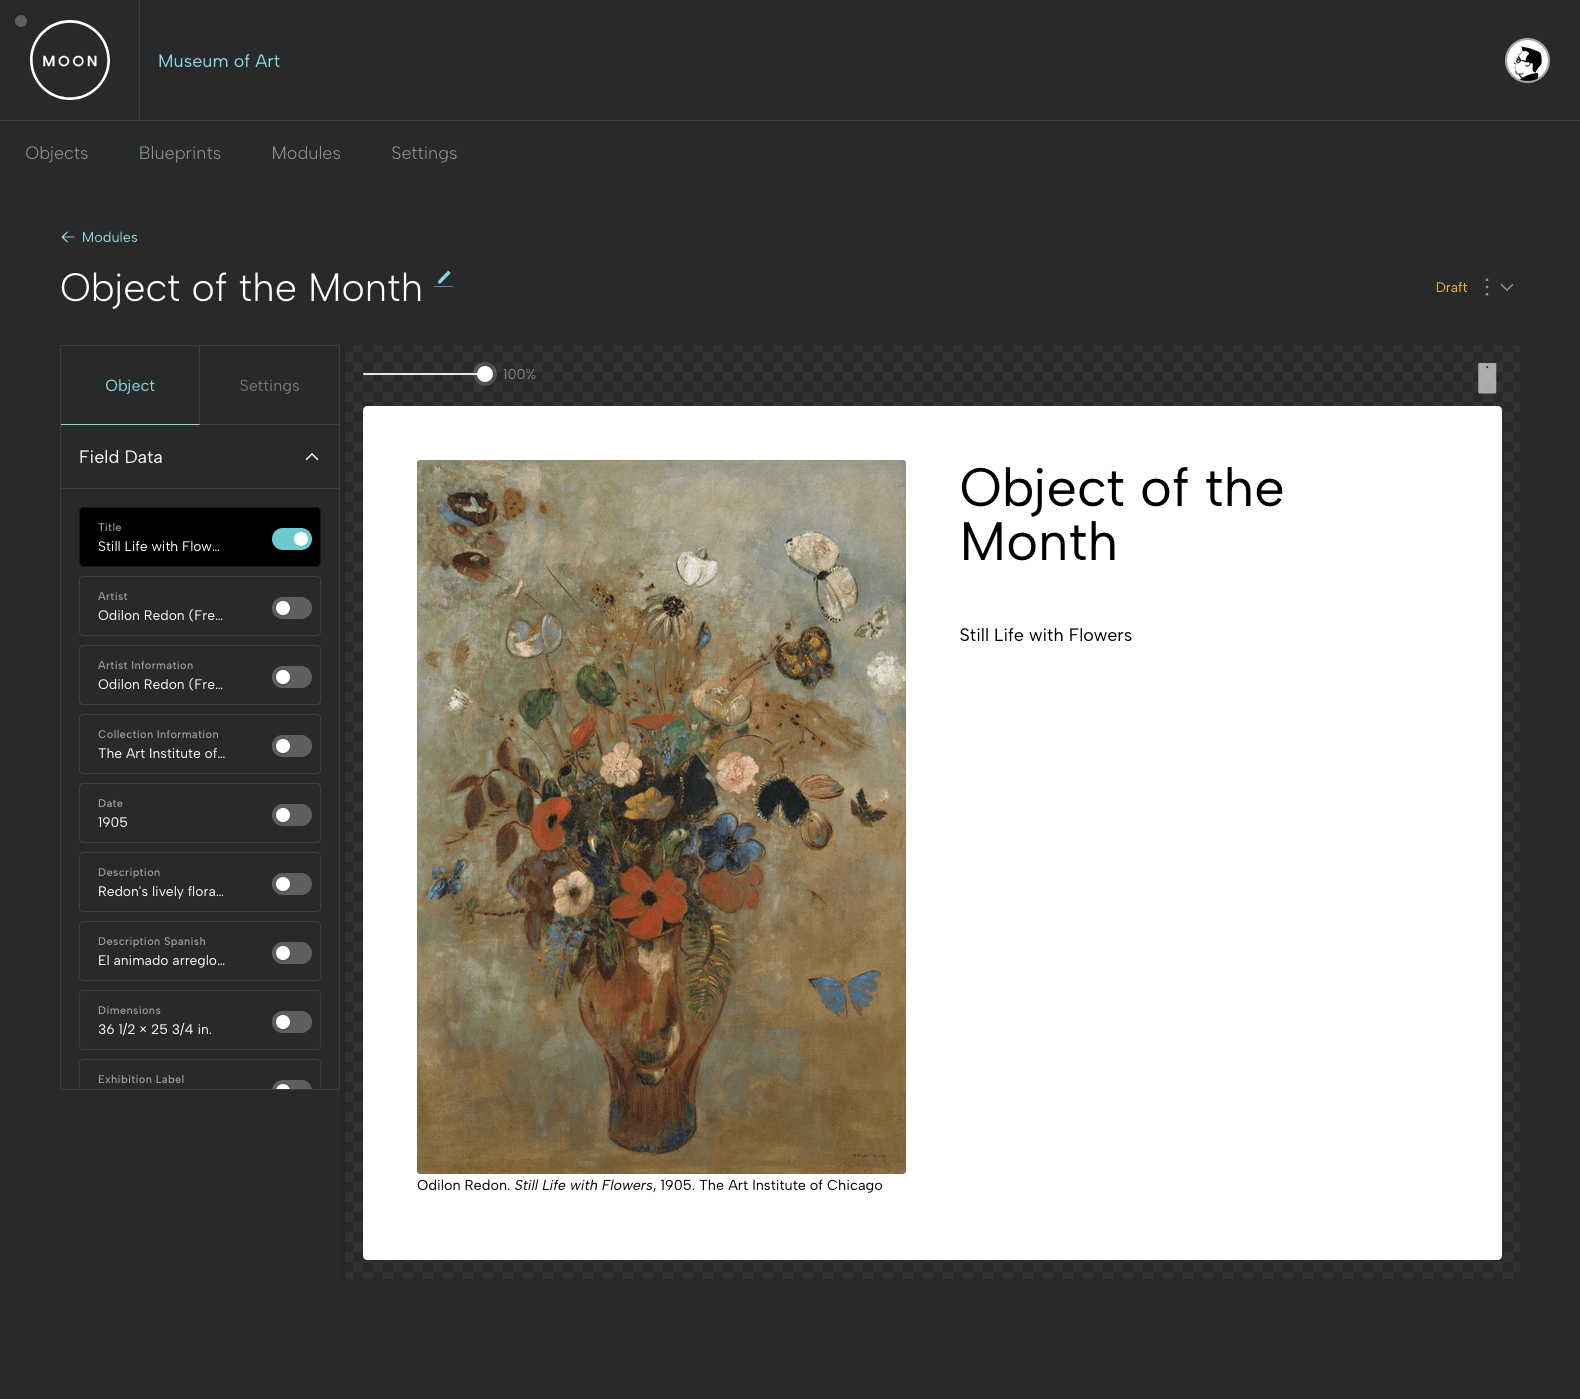
Step 3:
Toggle on the fields for which you’d like information to be displayed in the Module.
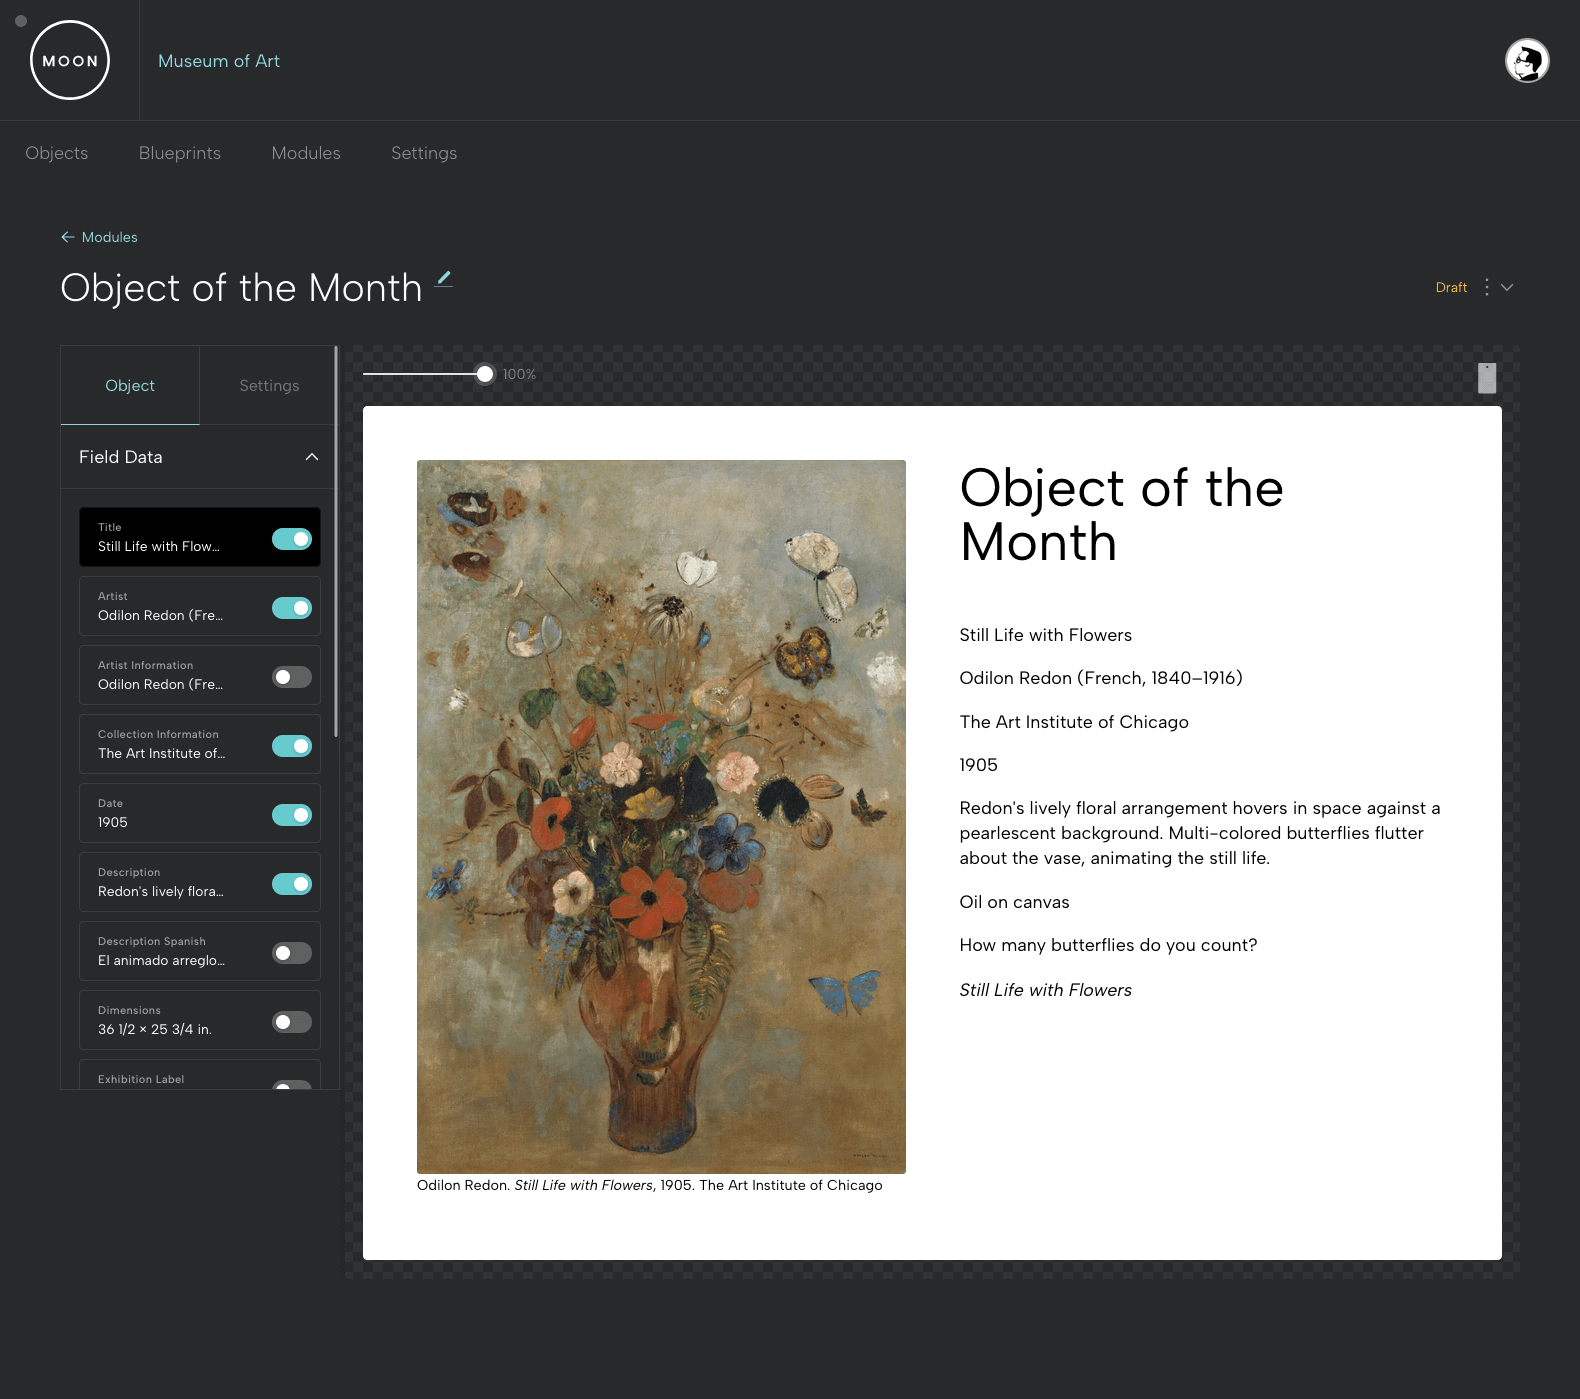
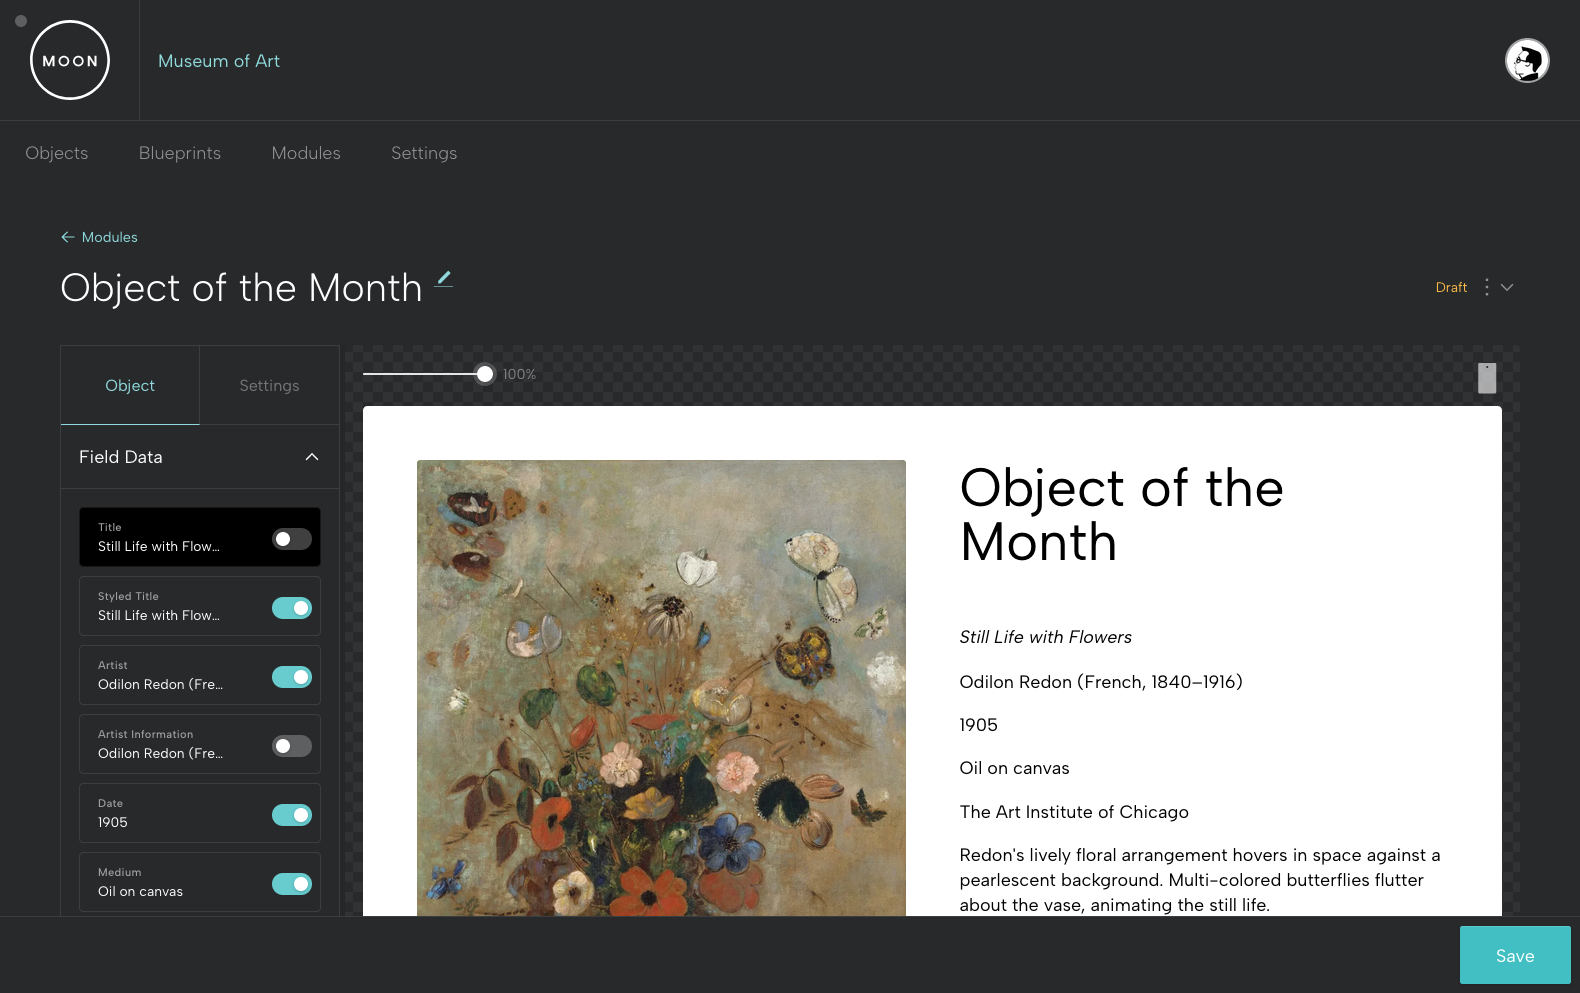
Step 4:
Arrange the order of displayed object information by dragging and dropping fields in the Module Editor or the text elements in the Module Viewer.

Always remember to Save as you make updates to your Module!
Step 5:
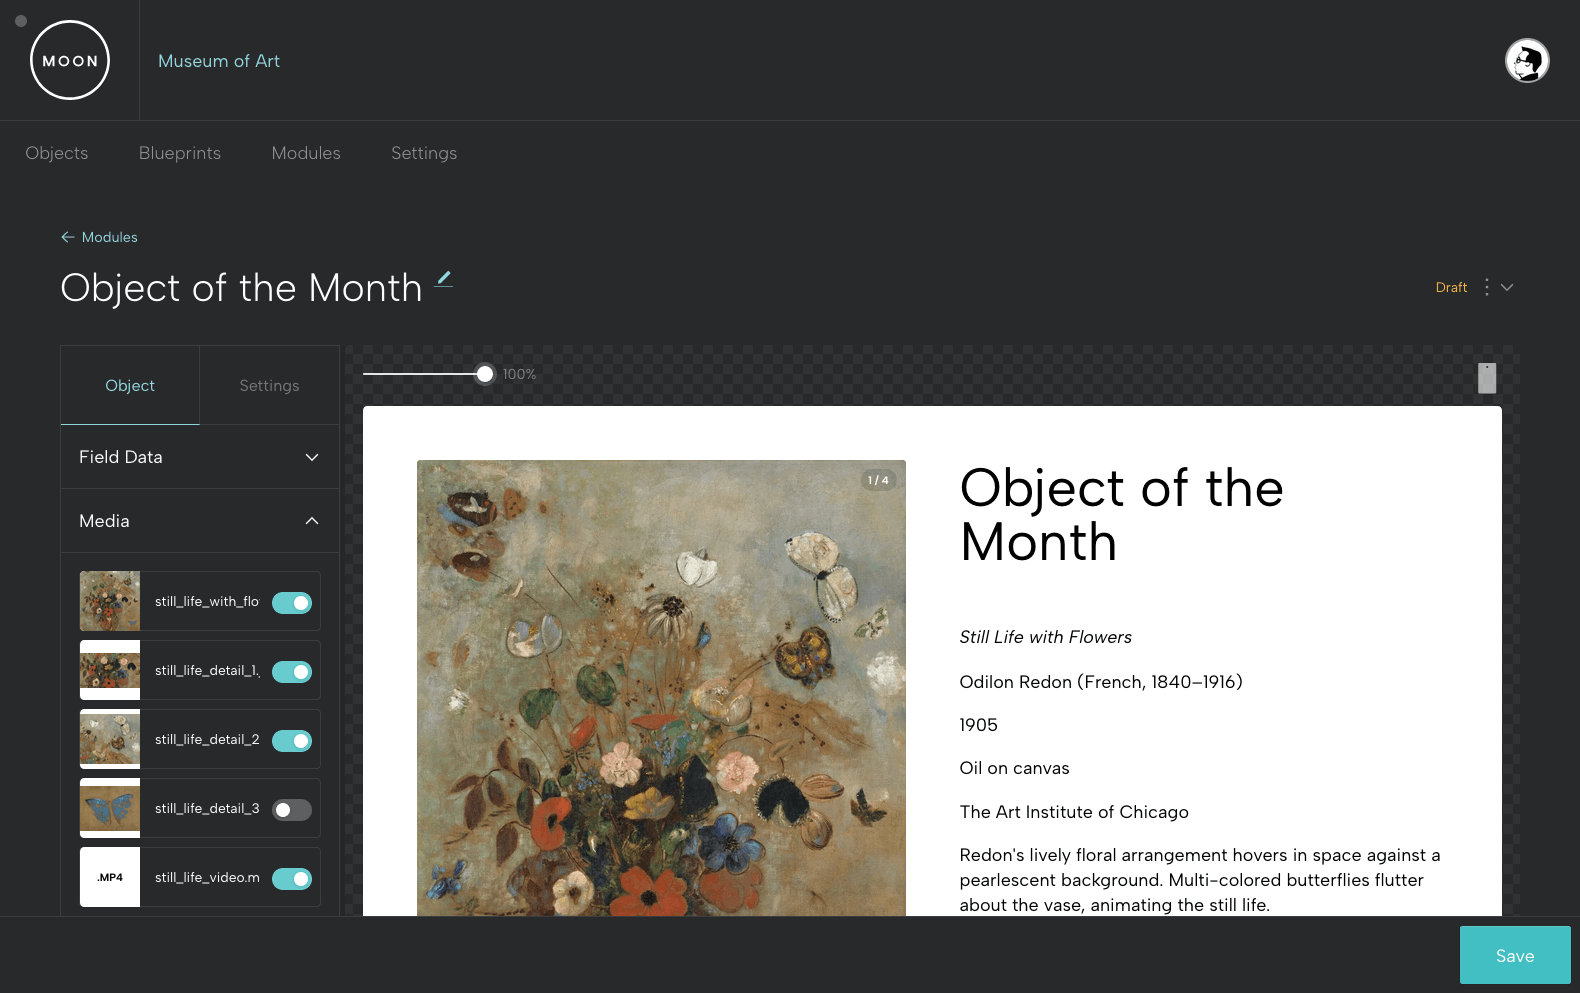
In the Module Editor, under Object, select Media. Toggle on the media files you'd like to include and arrange the order by dragging and dropping. For the Featured Object Module, multiple files will display as a slideshow.
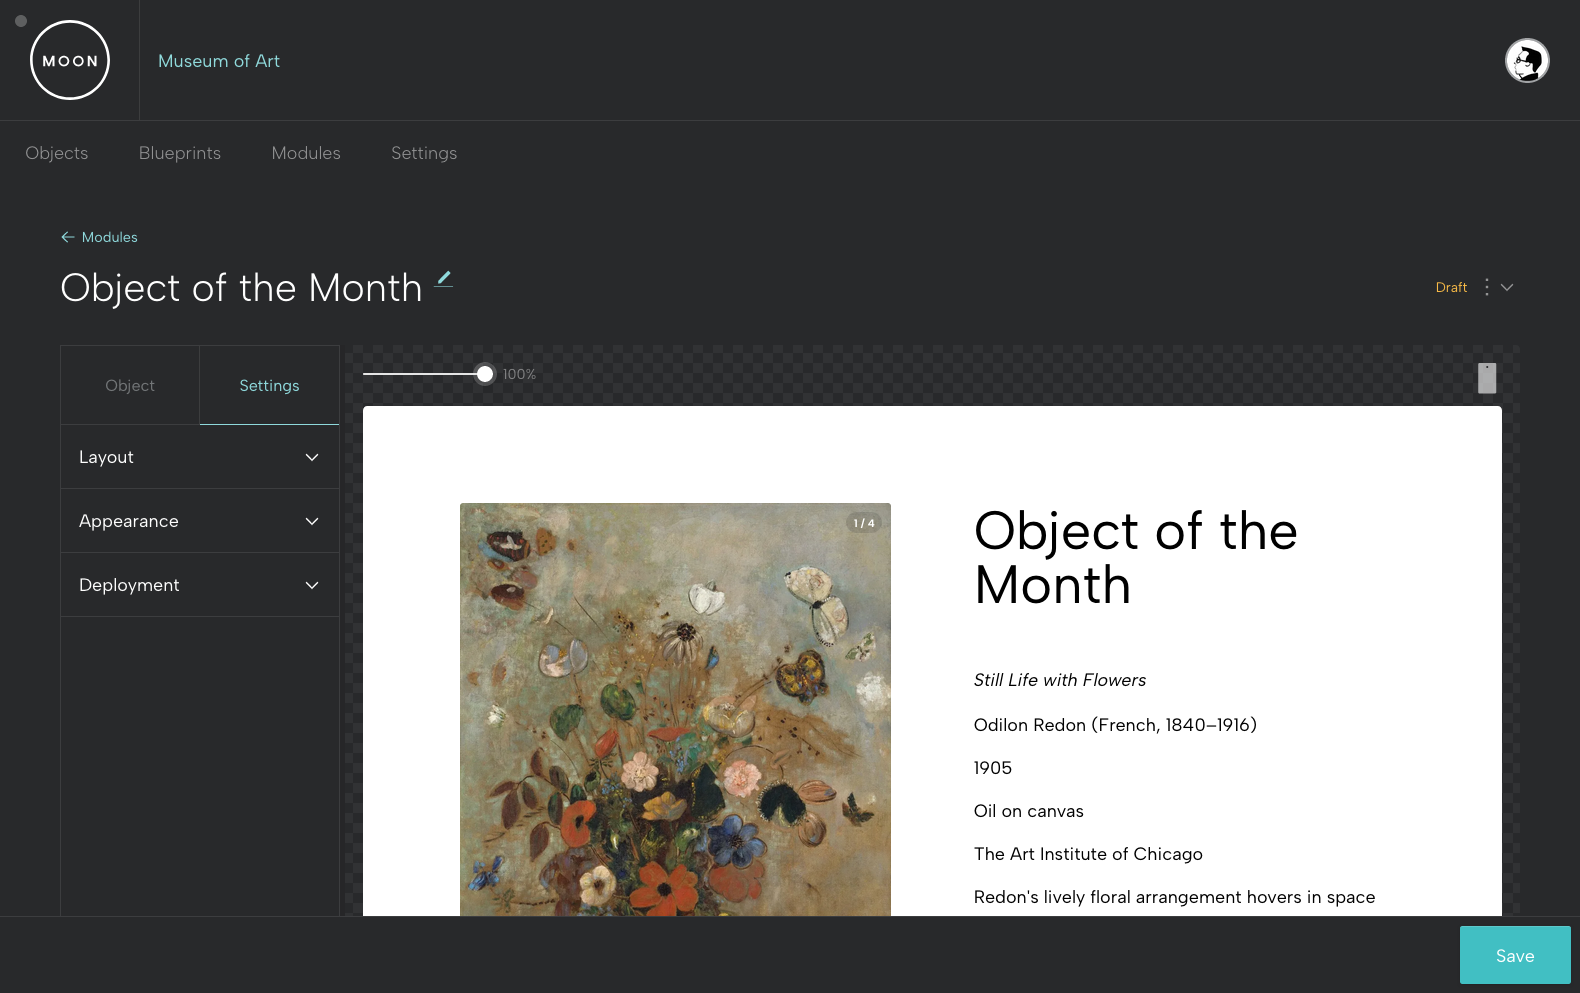
You’re off to a great start! Now it’s time to update your Module Settings, where you can update Layout and Appearance.
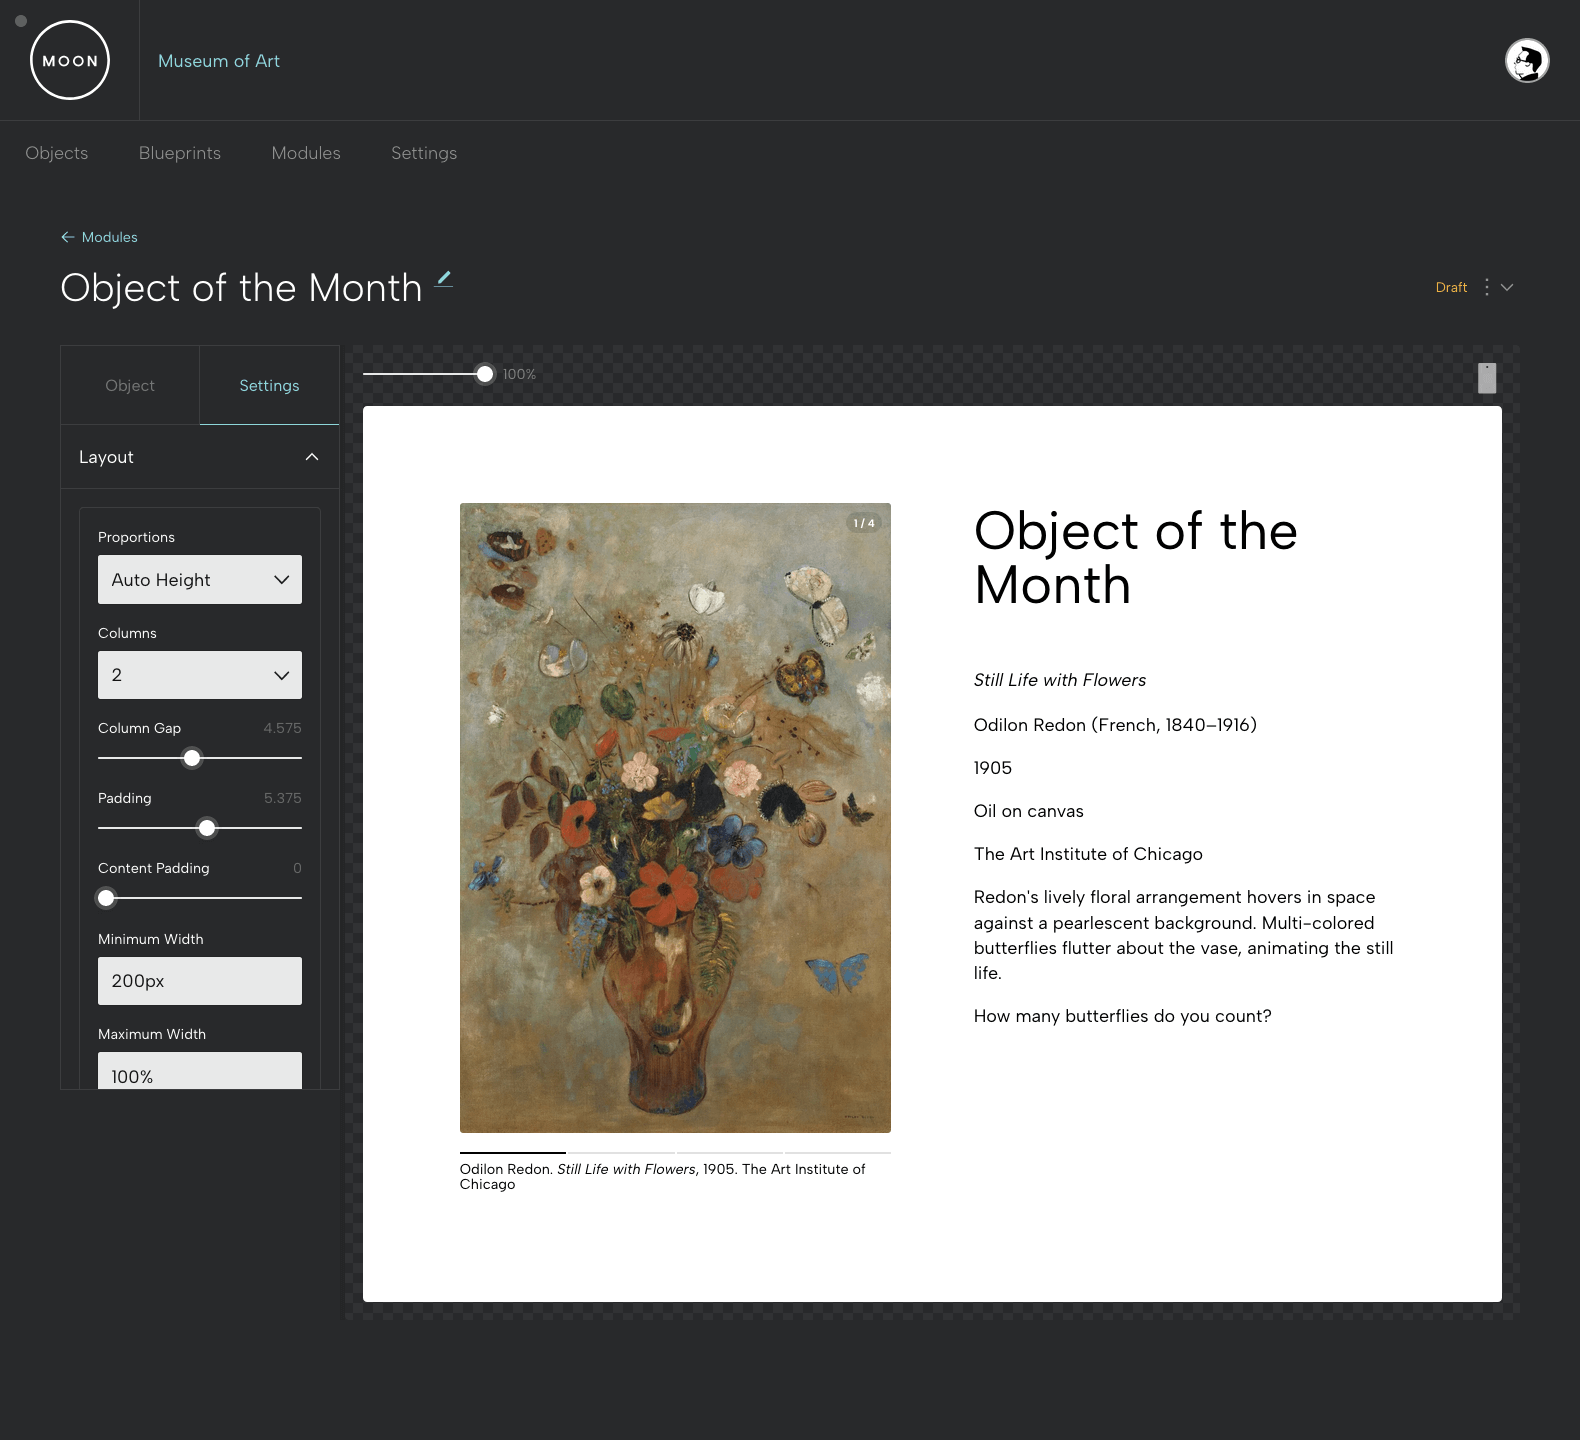
Step 6:
Open Layout. Here you can select your preferred aspect ratio, the number of columns, and adjust padding.
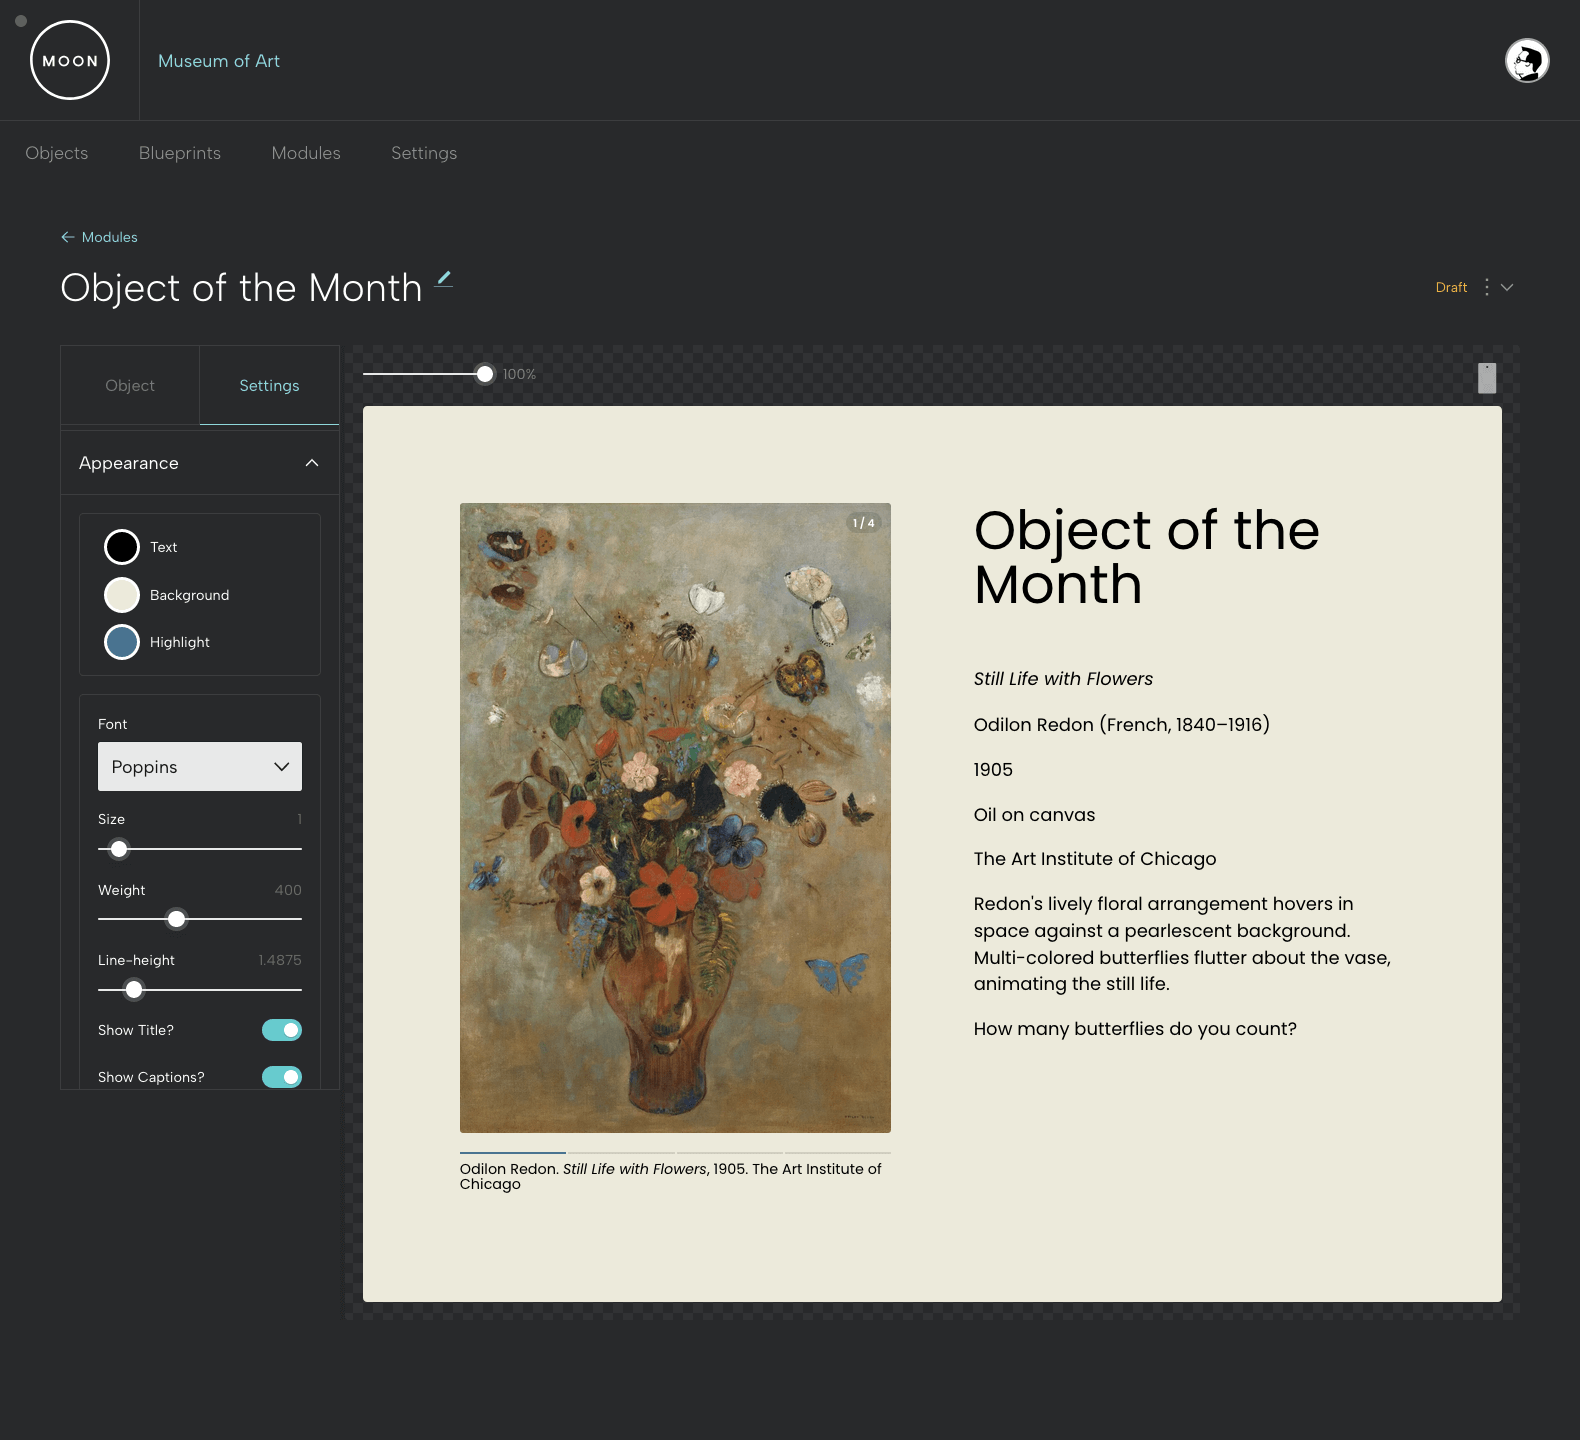
Step 7:
In Appearance you can select color and font options. Your highlight color will appear in the slideshow navigation and in video and audio controllers.
You’ll also decide whether or not you’d like to show the title of the Module and the captions.
Step 8:
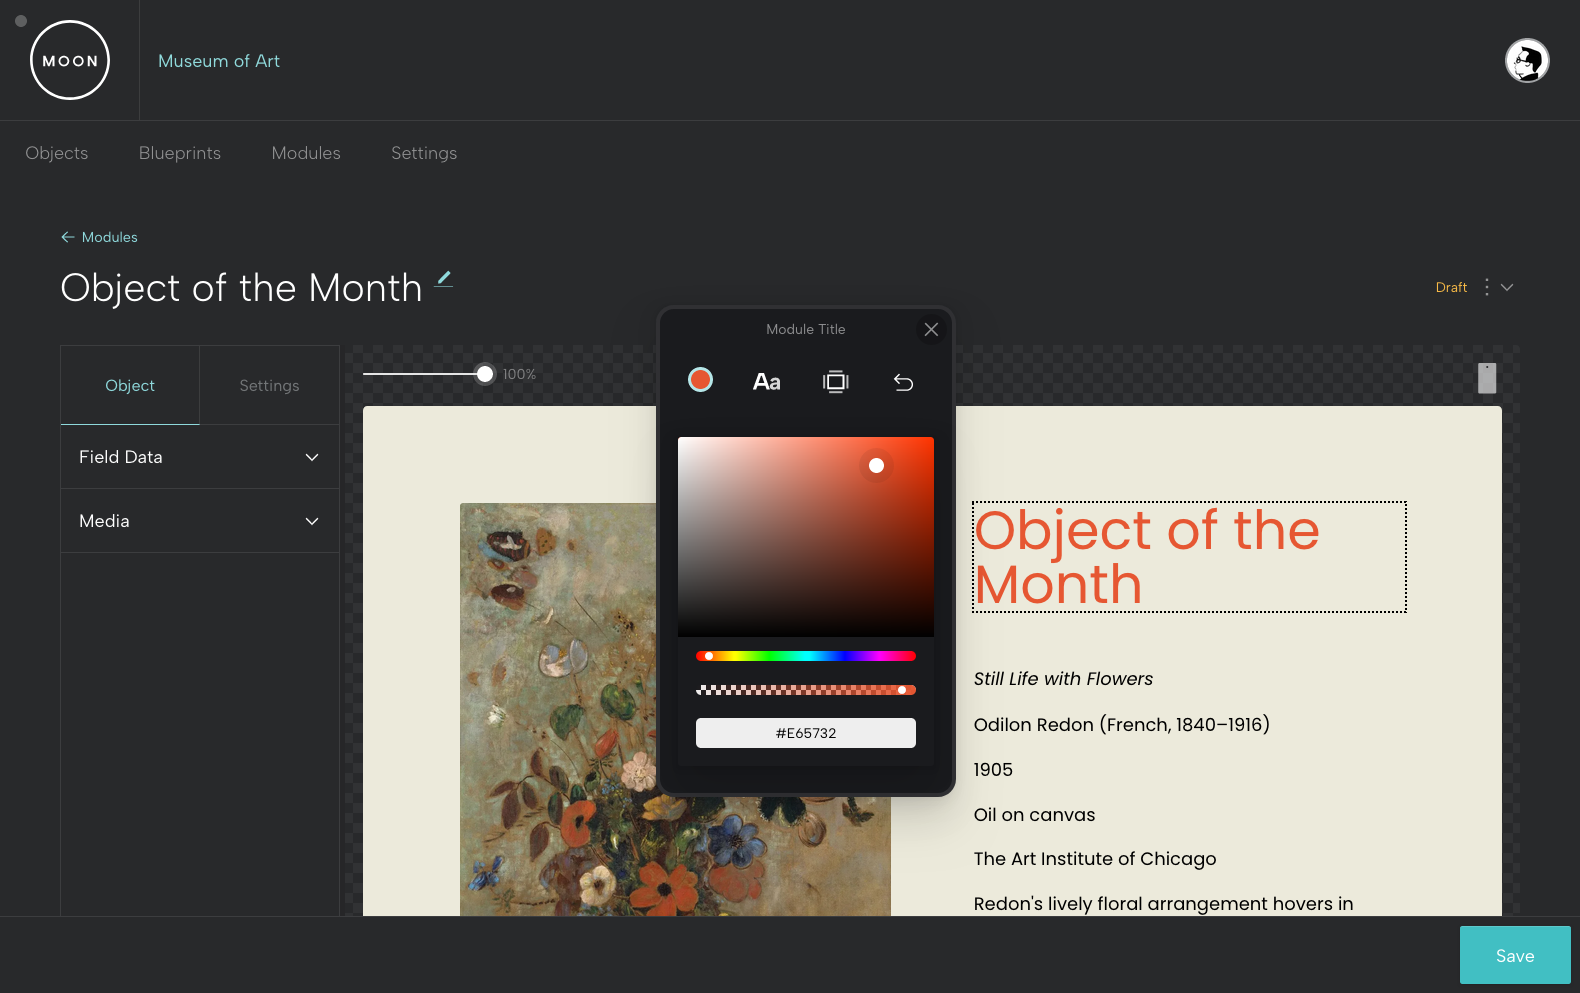
Start refining text in your Module Viewer by double clicking individual elements.
Here we’ll change the color of the Module Title.
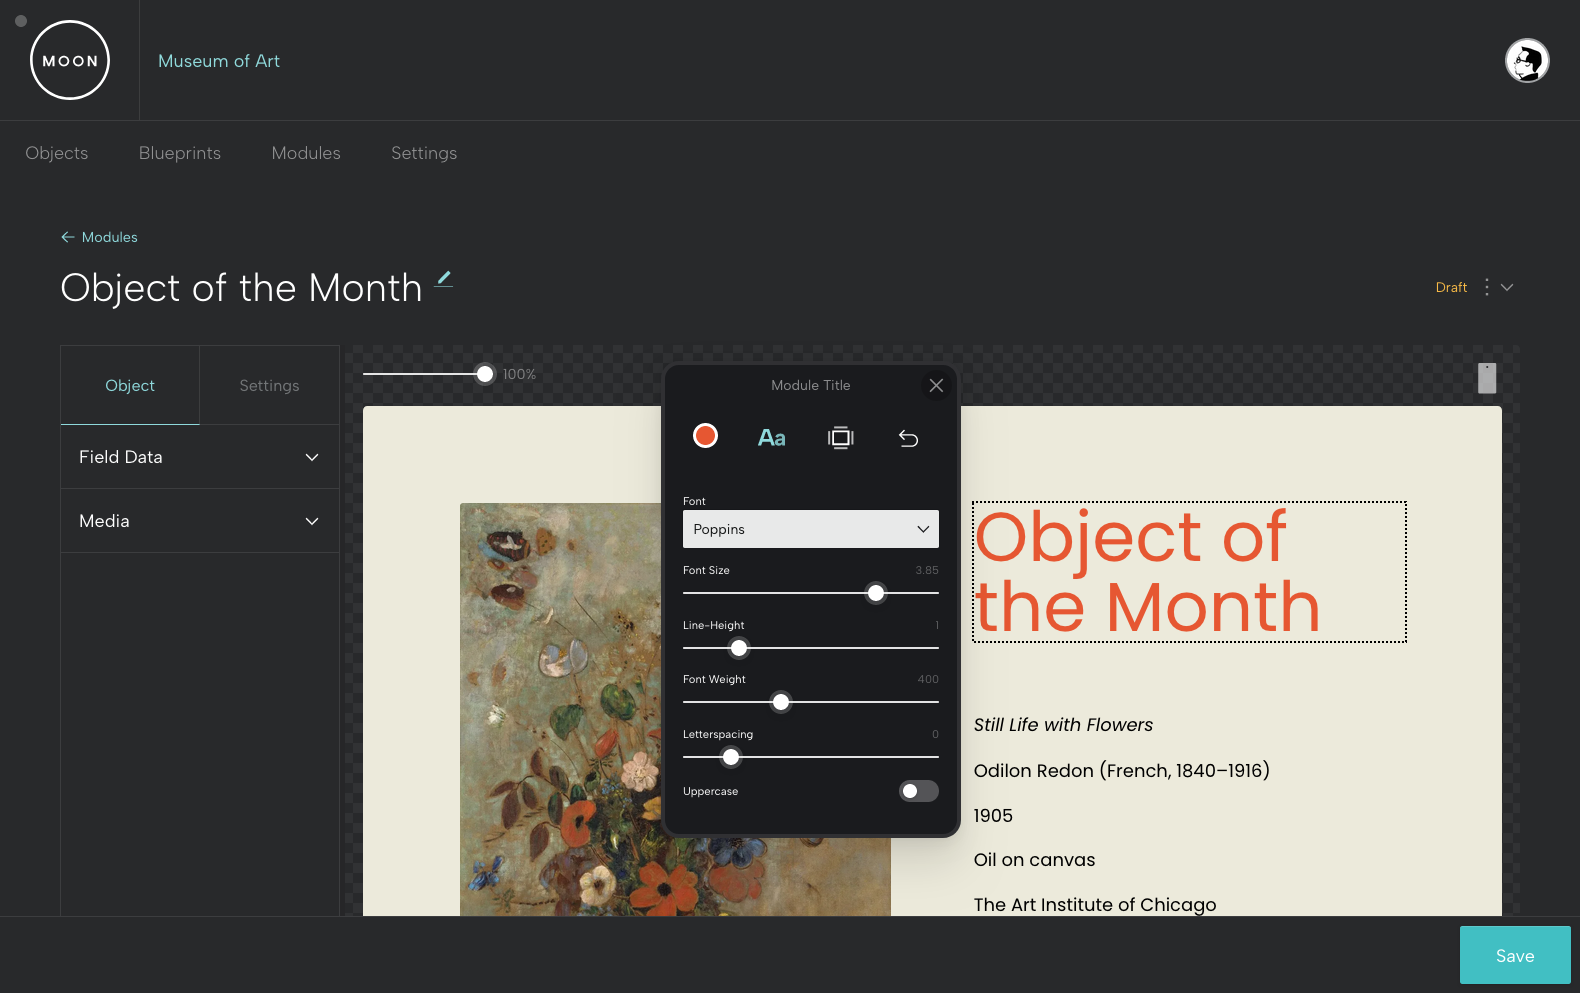
And we’ll update the font size of the Module Title using the slider.
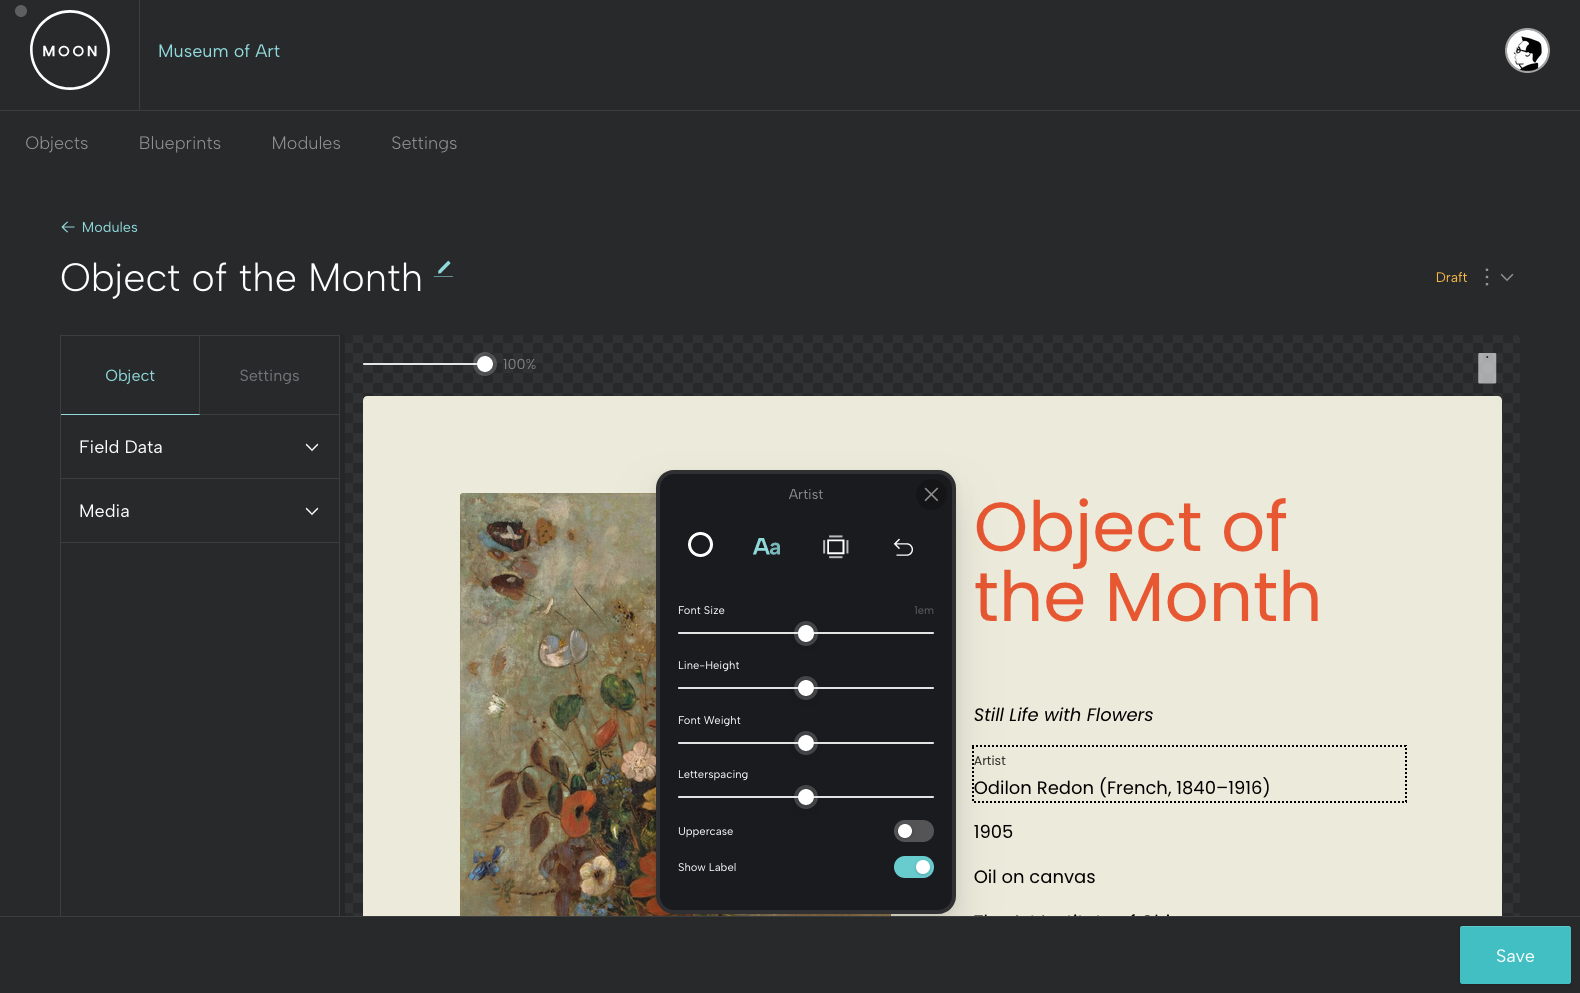
If you'd like to show a Field Label, you can use the toggle. This option works well for works with more than one artist to differentiate the artists' roles.
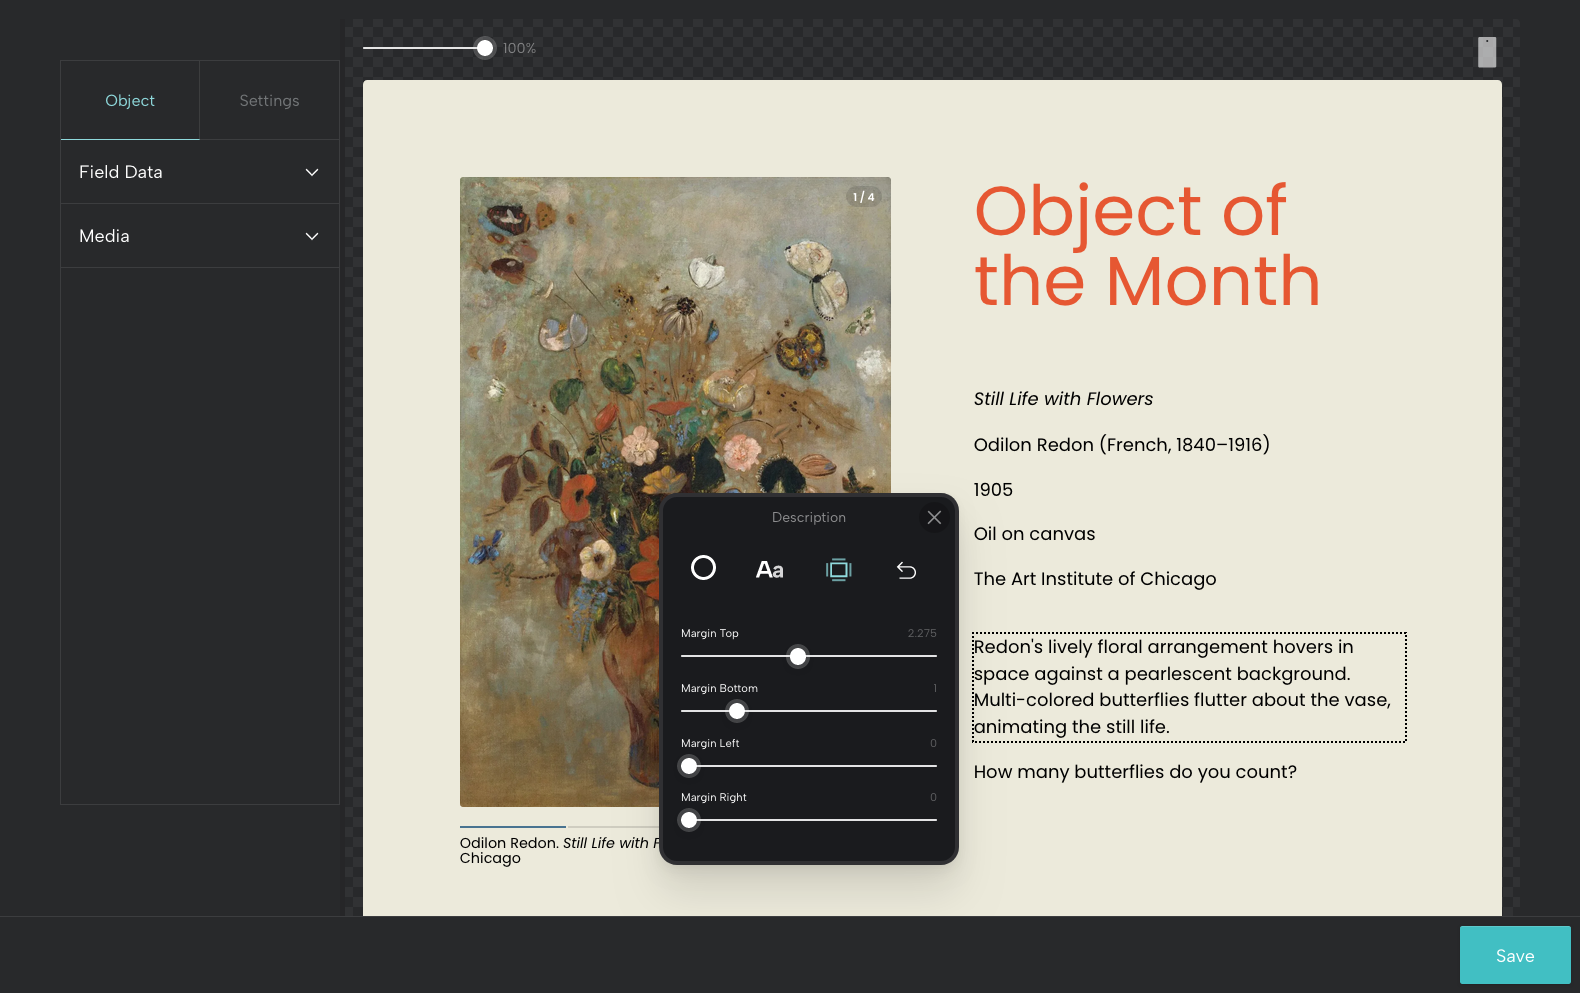
Adjust margins using the sliders.
This module is looking good! However, if you change your mind later, it’s simple to make updates.
Step 9:
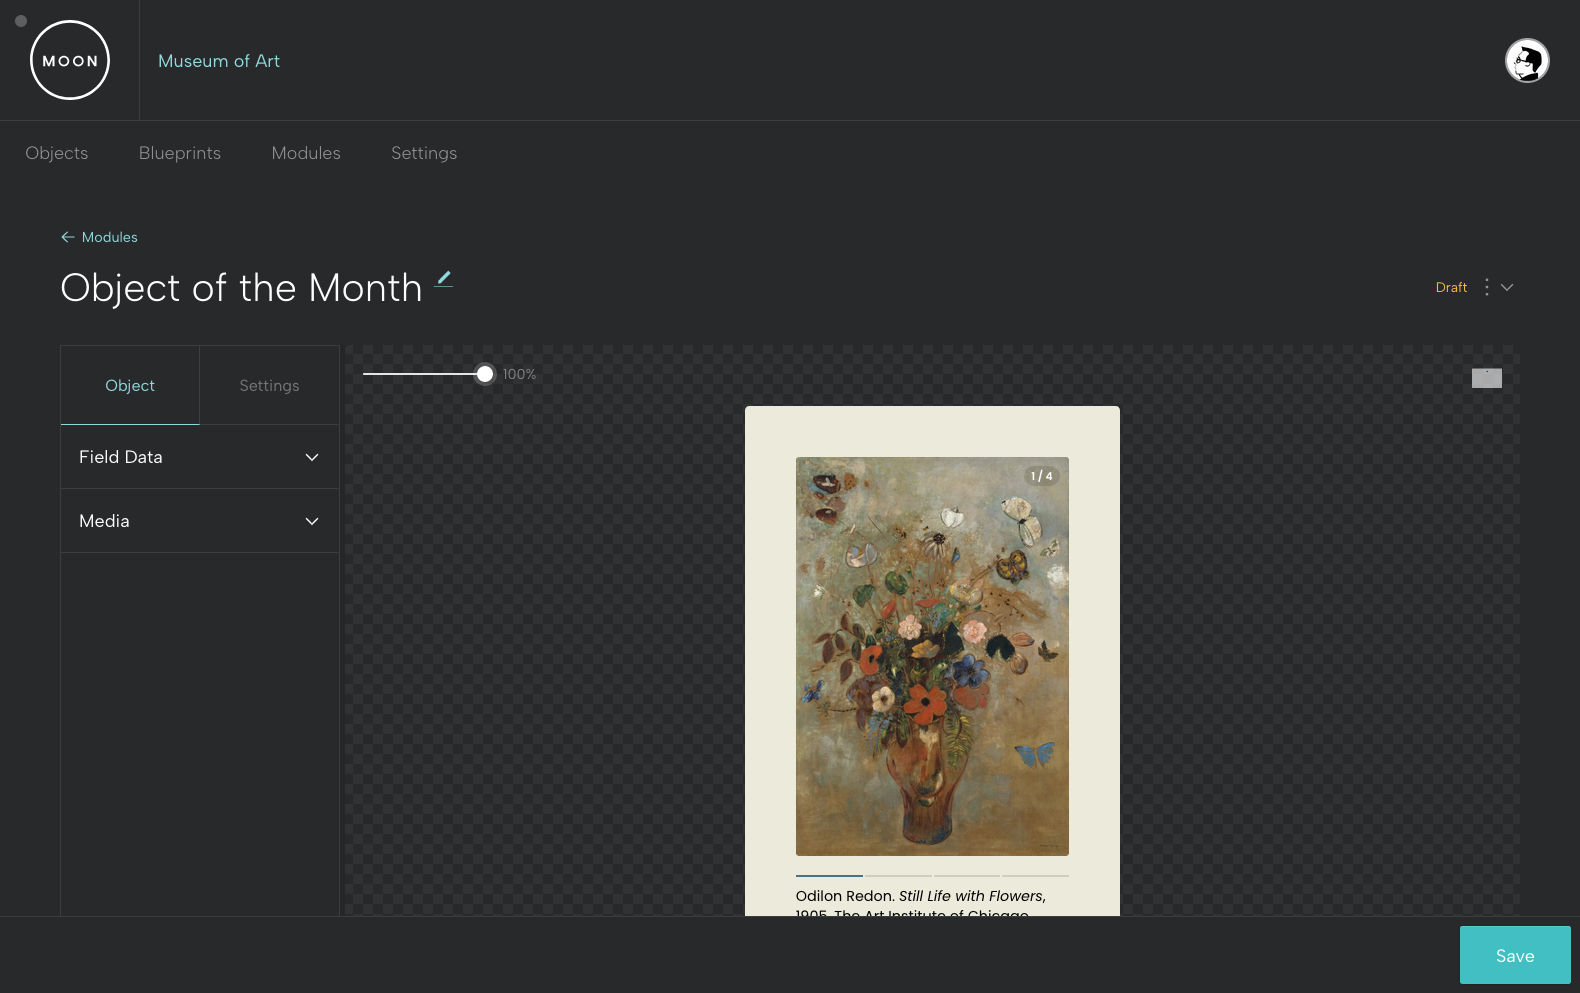
Notice that your Module is responsive when you resize your web browser.
Click on the phone icon in the upper right of the Module Viewer to see the Mobile View. Make any necessary adjustments and go back to the full view.
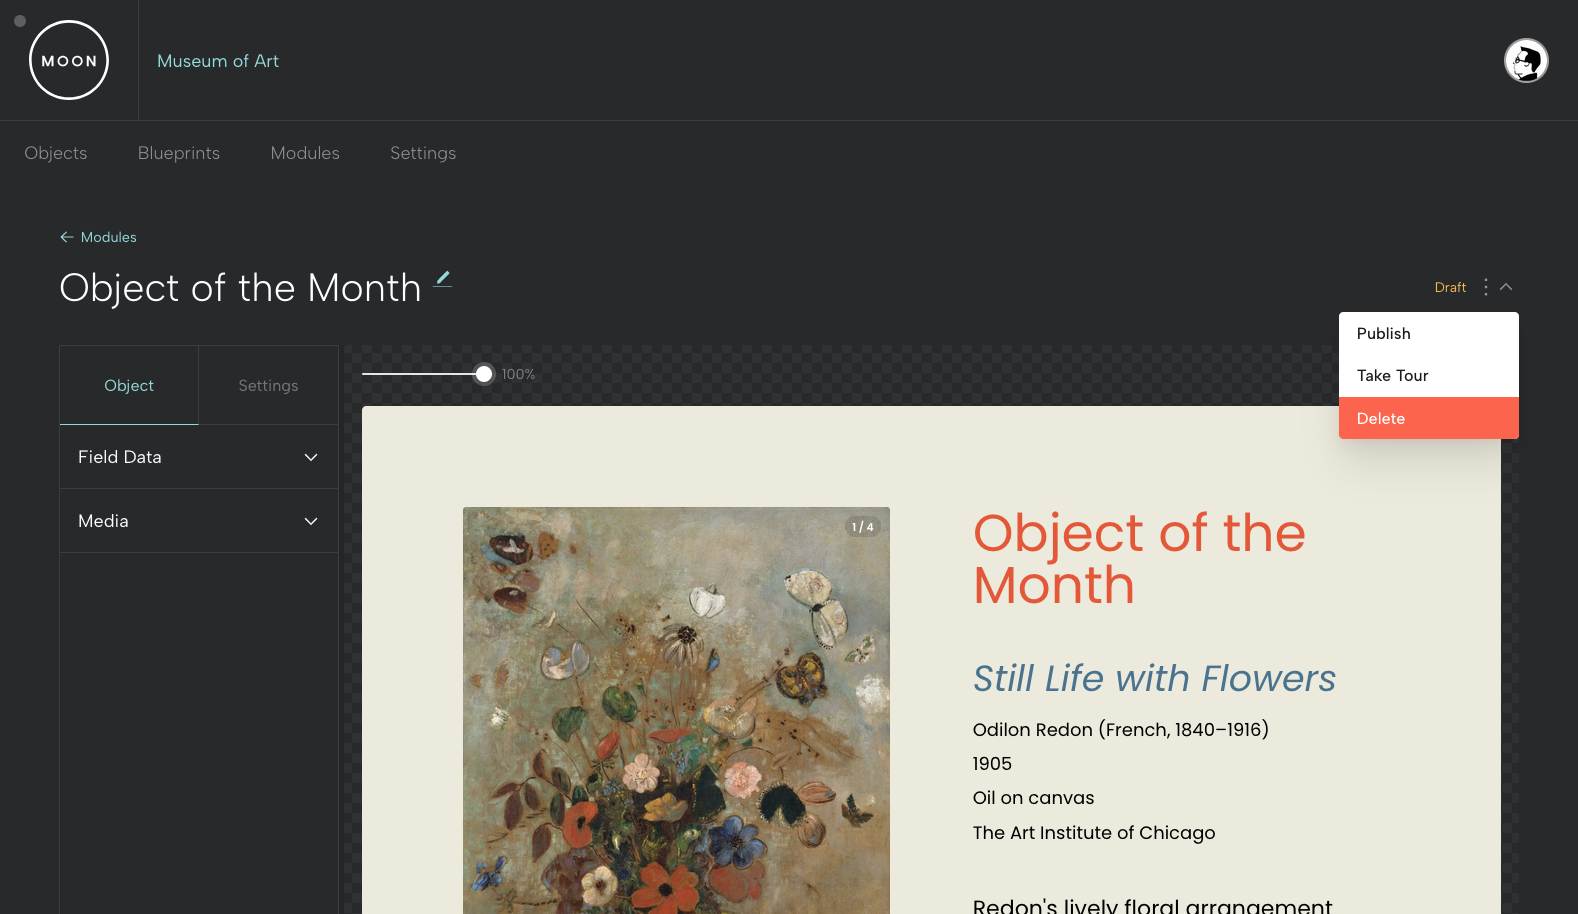
Delete a Module Draft
If you decide to delete your drafted Module, select Delete from the menu and confirm your preference.
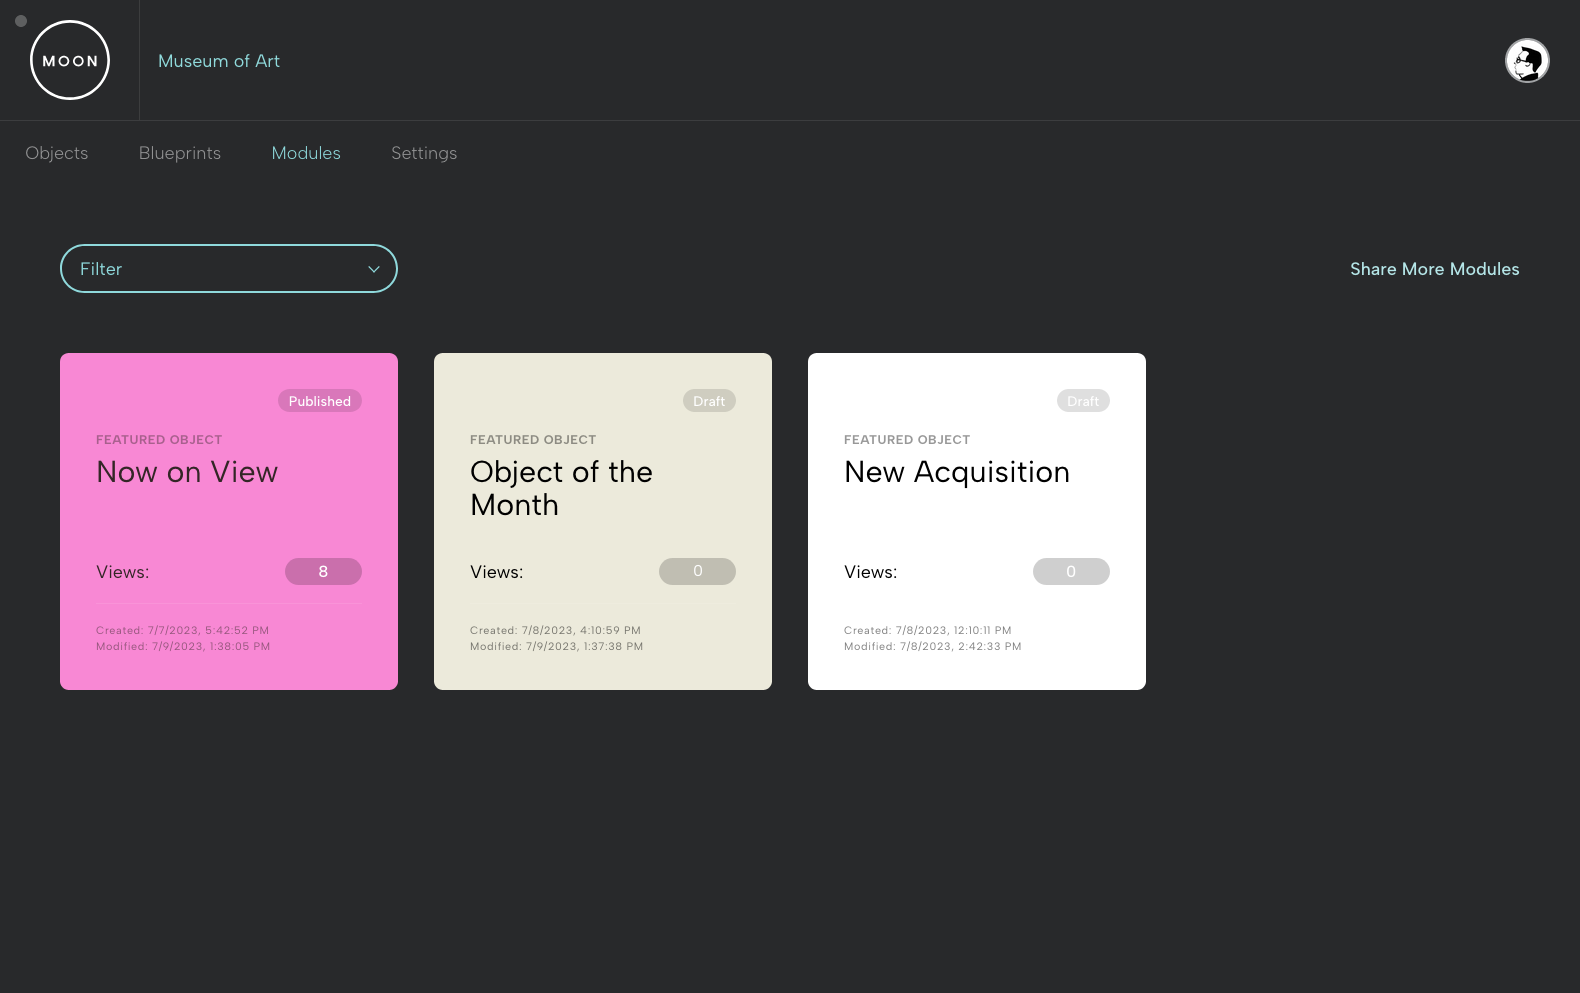
View Your Modules
When you select Modules from the MOON Dashboard, you'll see all the Modules you've created. Click to view or update.
Ready to share? Check out Sharing a Module.